
Last updated September 20, 2026
Free on-site gate assessment - hinges, posts, and your LiftMaster or Nice gate operator checked before anything is quoted
The assessment is free and the quote is the invoice.
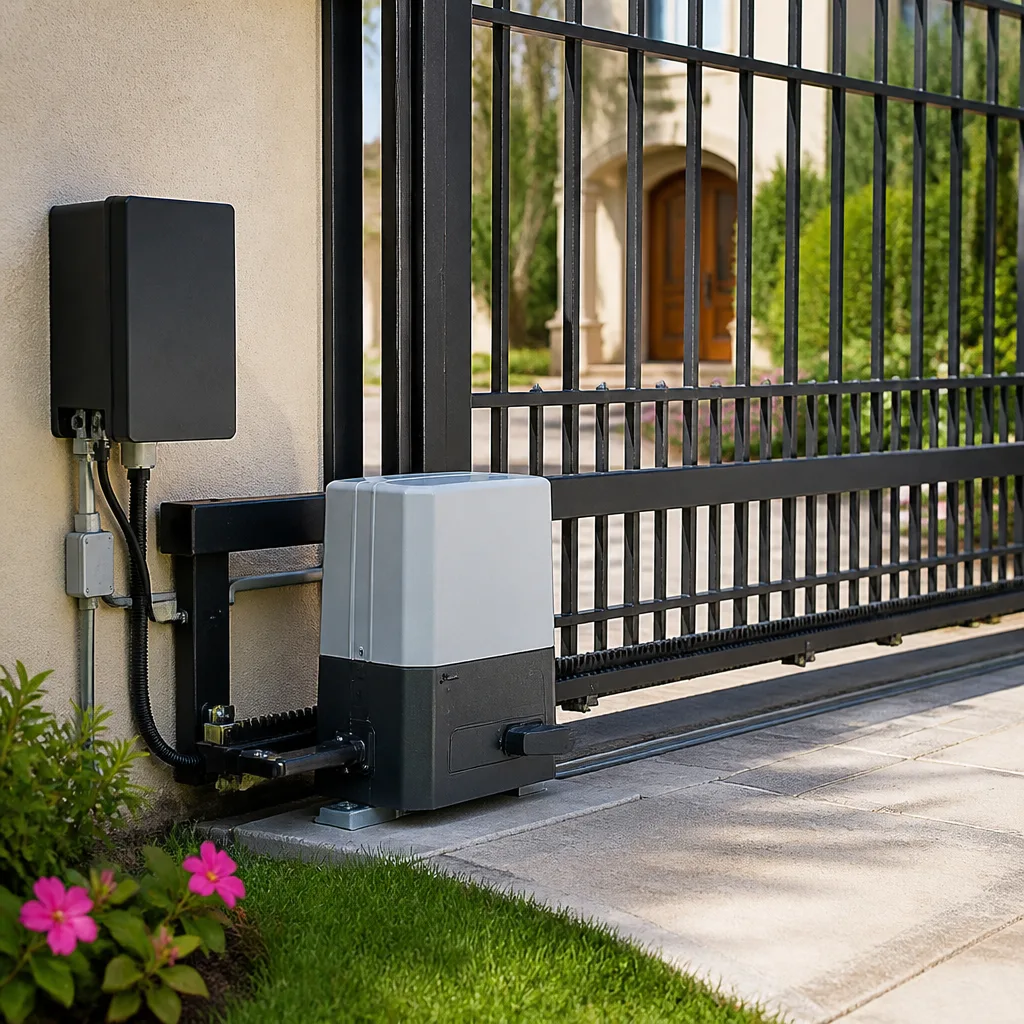
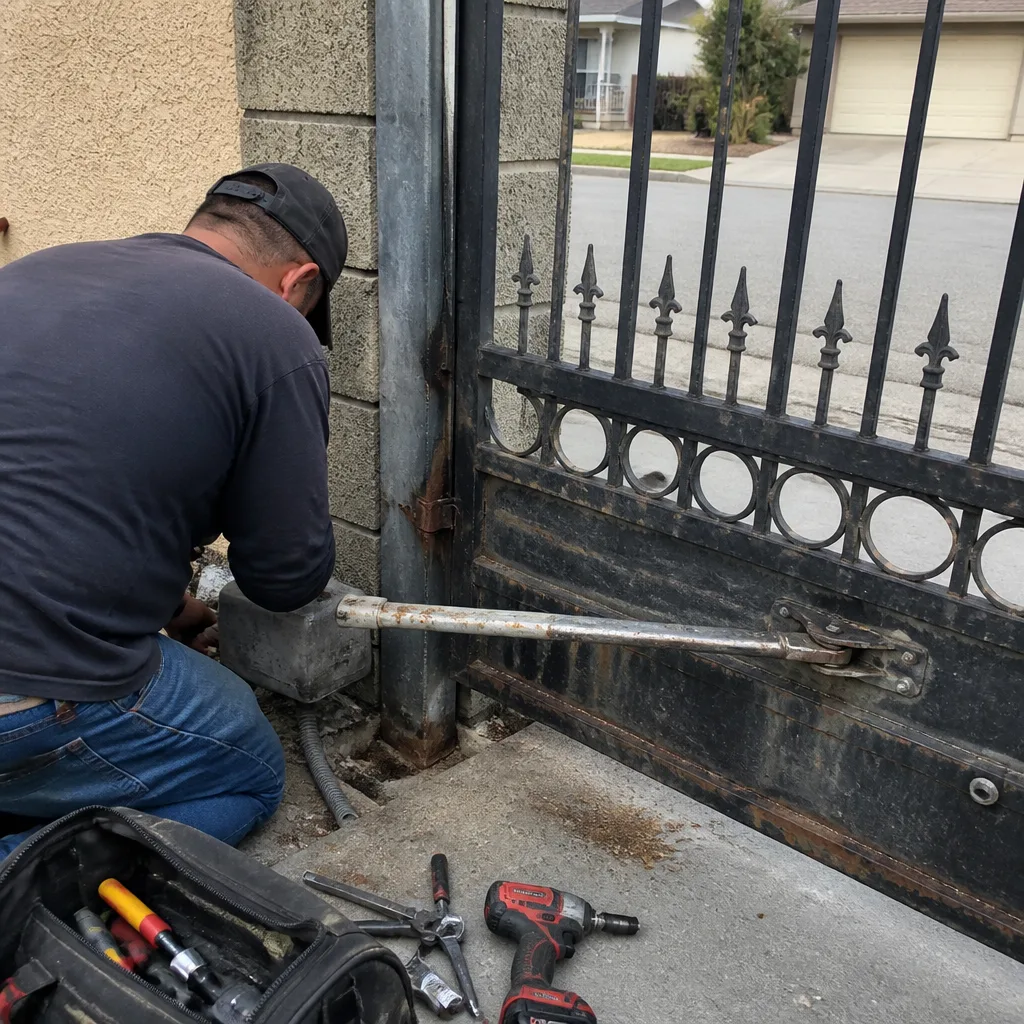 Before
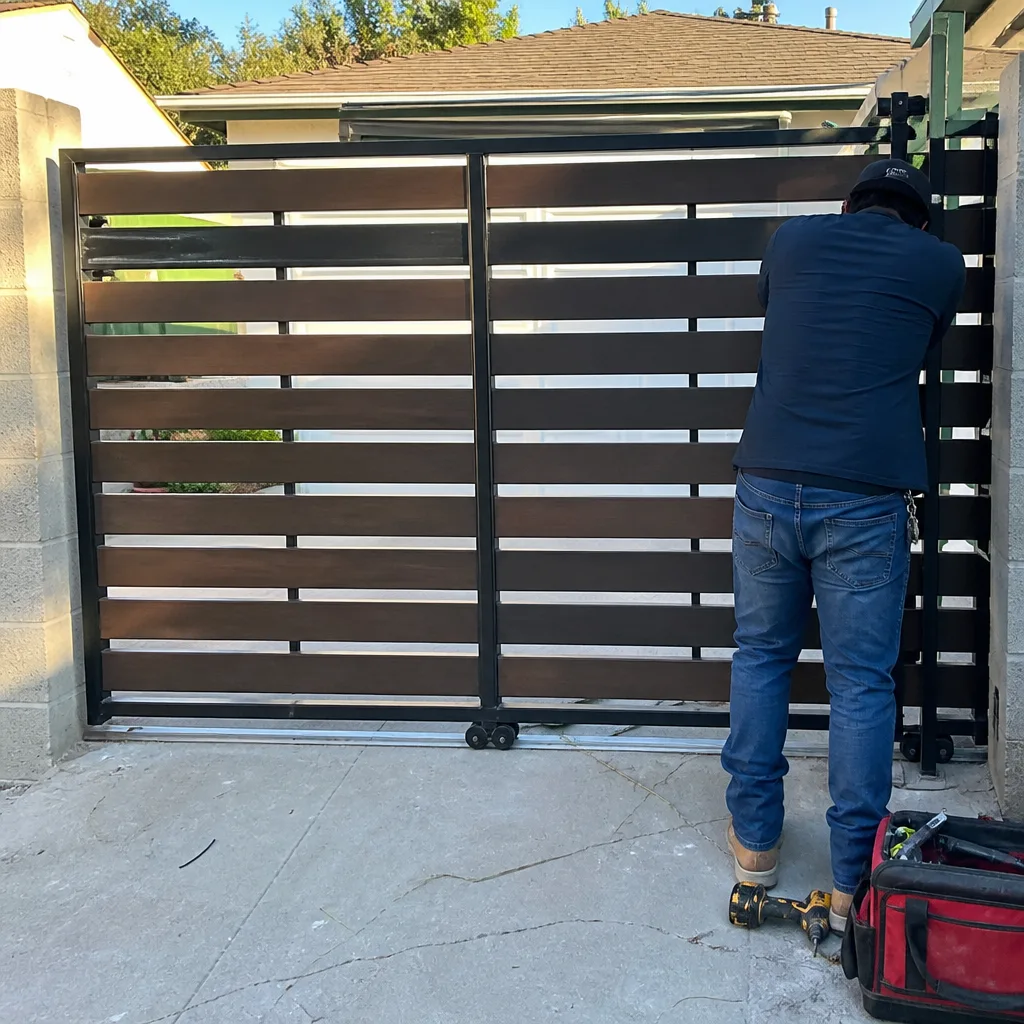 After
After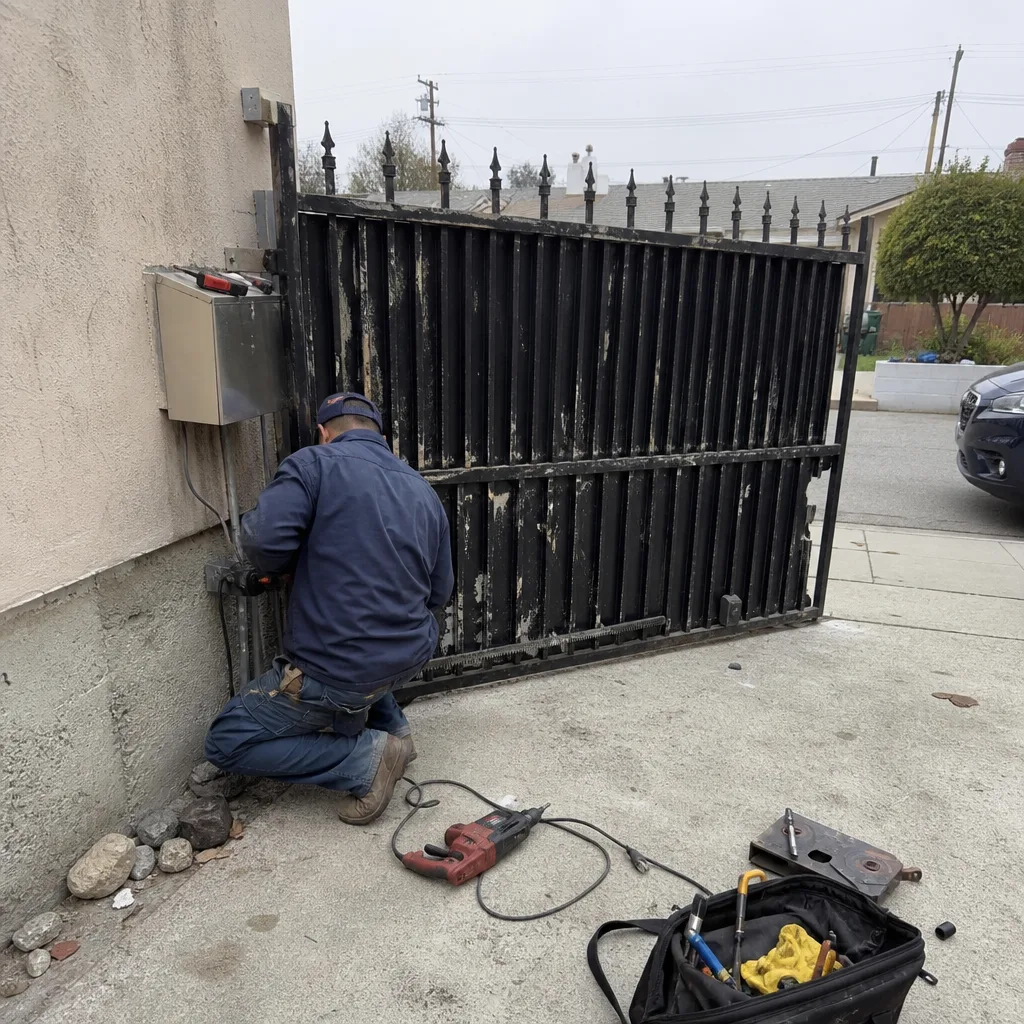 Before
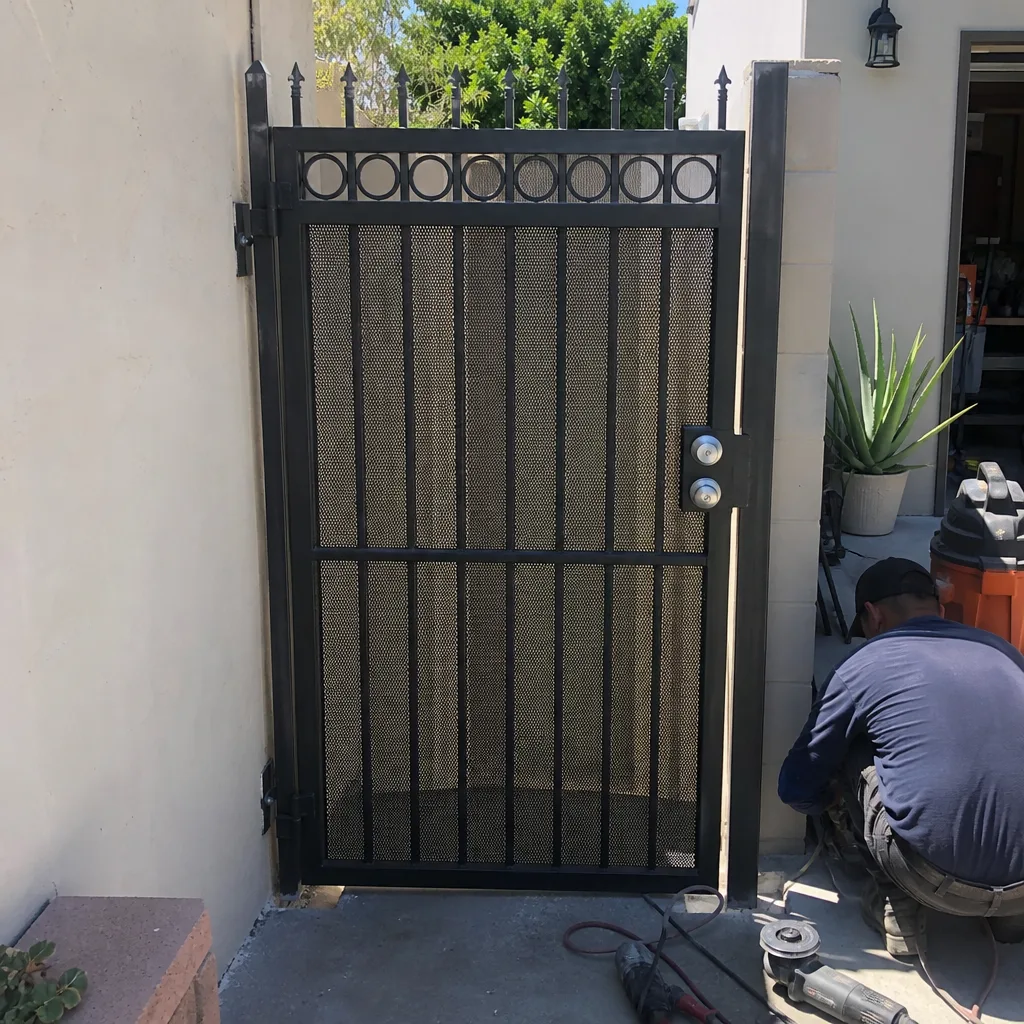 After
After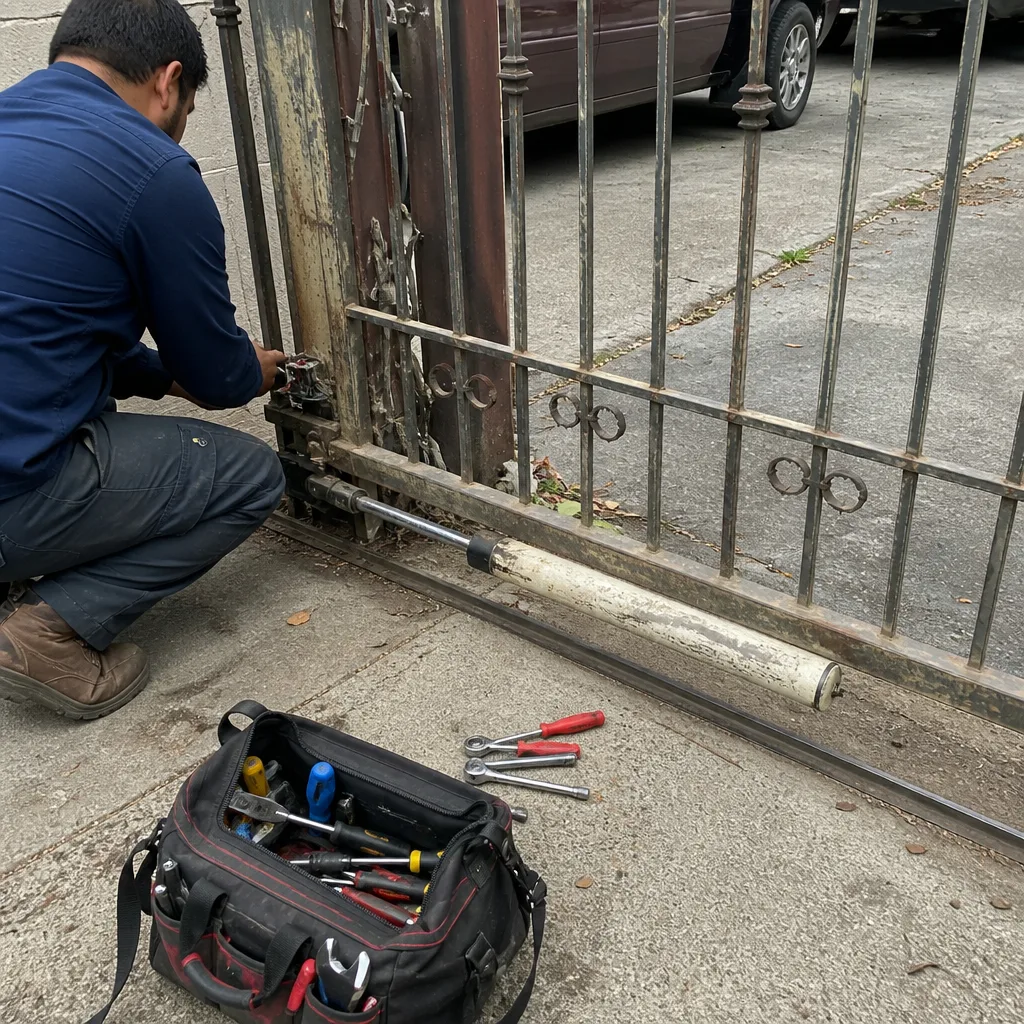 Before
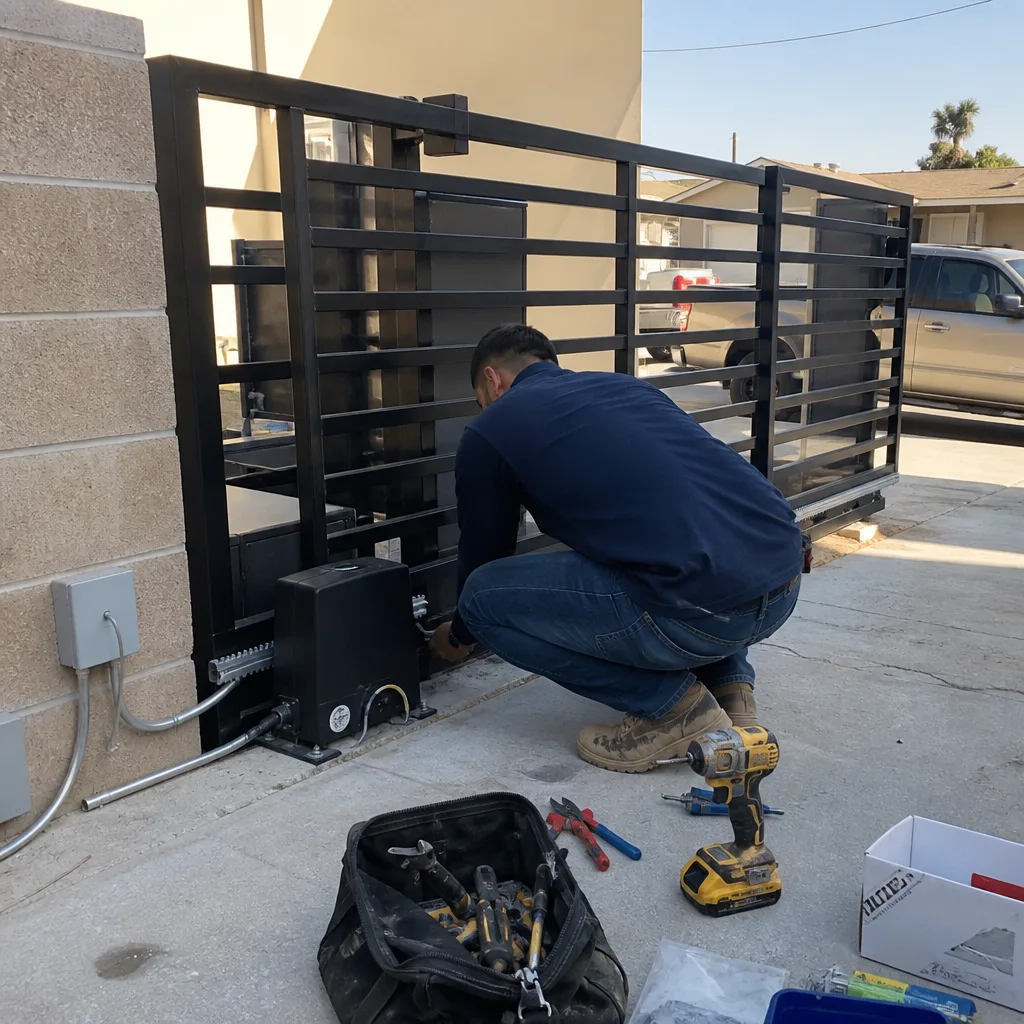 After
AfterGate Repair Maintenance Checklist for Inglewood Homeowners
Most gate maintenance checklists were written for the Midwest, where the enemy is snow load and road salt. None of them account for the salt-laden marine layer that settles on Inglewood driveways between October and March. That coastal air does something specific to gate hardware: it corrodes terminal blocks, fogs photo-eye lenses, and accelerates wear on nylon gears in ways a generic checklist never addresses. This guide fixes that. You’ll get a maintenance checklist organized by failure consequence, not by convenience, so the items most likely to cause a $900 repair-and require our Gate Repair services-get checked before the items that cause a $40 inconvenience. You’ll also learn what sounds precede a gearbox failure, how to document your own inspection with a phone camera, and how to tell a watch-item from a fix-now item when the evidence is ambiguous.
Quick Answer
A gate maintenance checklist for Inglewood homeowners should be organized by failure consequence, not convenience, and must account for marine-layer corrosion, thermal cycling, and sun degradation specific to coastal Los Angeles County. The top priority items are photo-eye alignment, reversing sensitivity, terminal block corrosion, and gear wear on automatic openers. If you check these four things twice a year and document each inspection with phone photos, you’ll catch most failures before they strand your gate open or closed.
Table of Contents
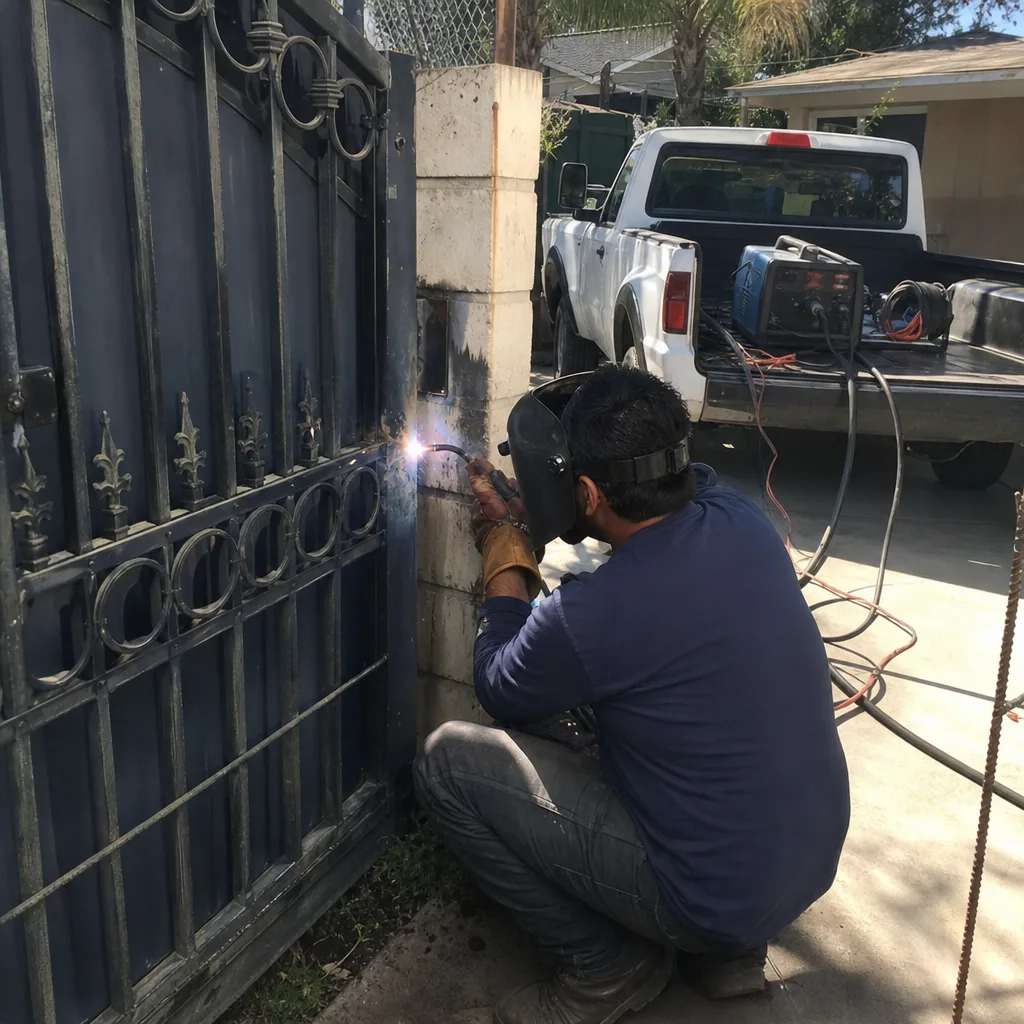
- Why a Risk-Ranked Checklist Beats a Generic One
- What Inglewood’s Climate Does to Gate Hardware
- Tier One: Safety-Critical Items (Check First, Every Time)
- Tier Two: Failure-Expensive Items (Check Monthly)
- Tier Three: Convenience Items (Check Quarterly)
- The Three Sounds a Gate Makes Before a Gearbox Fails
- How to Document Your Inspection with a Phone Camera
- What to Do When an Inspection Item Is Ambiguous
- Common Mistakes to Avoid
- When to Call a Professional
- Frequently Asked Questions
- The Bottom Line
BeforeAfterWhy a Risk-Ranked Checklist Beats a Generic One
Open any generic gate maintenance guide and you’ll find the same list: lubricate hinges, check batteries, tighten bolts. All useful, none urgent. The problem is that a generic list treats every item as equal, so a homeowner with 20 minutes on a Saturday will often do the easiest items first and skip the rest. That’s backwards. A photo-eye that’s drifted out of alignment by two inches is a safety hazard and a repair waiting to happen. A keypad backlight that’s dim is a $12 inconvenience. Both appear on most checklists. Only one matters right now.
What Inglewood homeowners need is a list organized by consequence. Consequence means: what does this failure cost me, in dollars or safety, if I miss it? A seized gate wheel on a cantilever slide gate, for example, can snap a drive chain and take out the motor mount. That’s a $700 to $1,100 repair, and the warning sign is visible for weeks beforehand. A misaligned photo-eye that stops closing the gate costs nothing if caught early-something covered in Gate Repair Warning Signs: A Inglewood Homeowner’s Reference Guide-and a service call if ignored until the gate refuses to move. The checklist below ranks every item by what happens if you skip it. Safety-critical items come first. Convenience items come last. That’s the order you should work in.
We’ve serviced gates across Inglewood for over a decade now, and the pattern is consistent: the homeowners who catch failures early are the ones who check the right things in the right order. Not the ones who check the most things. If you only have time for one inspection this month, do Tier One and skip everything else. You’ll have caught the items that cause the expensive failures.
What Inglewood’s Climate Does to Gate Hardware
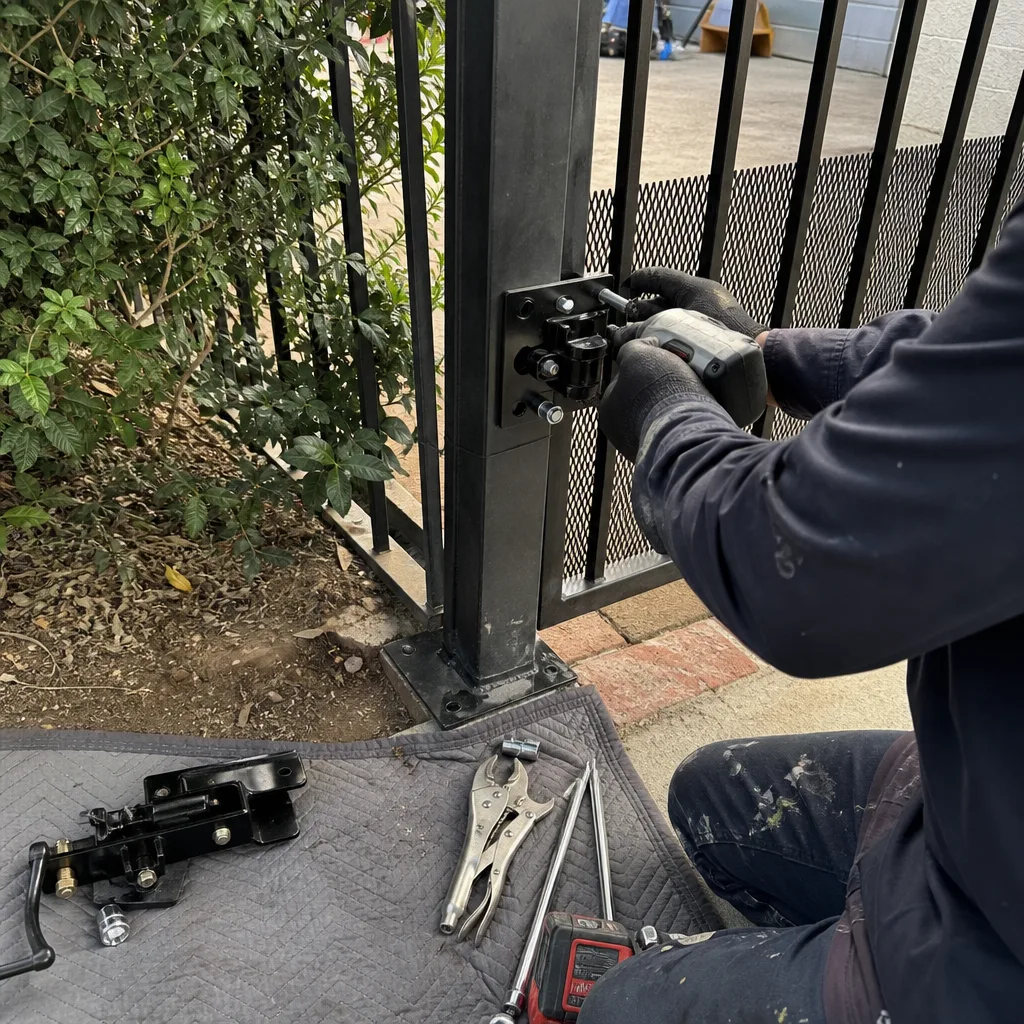
Inglewood sits roughly four miles inland from the Pacific, which means the marine layer rolls in most nights between October and March. That air carries salt and moisture, and it settles on everything: gate hinges, motor housings, terminal strips, circuit boards. Over time, that salt buildup causes corrosion on electrical connections and accelerates rust on unpainted steel. This is not a minor cosmetic issue. We’ve opened motor housings in Inglewood where the terminal block was green with corrosion, and the only symptom the homeowner noticed was intermittent operation. By the time the gate stopped working entirely, the corrosion had eaten through two wire connections and the repair was $400 instead of a $95 service call.
Thermal cycling is the second Inglewood-specific factor. Summer daytime temperatures in the 80s and 90s followed by nighttime drops into the 50s cause expansion and contraction in every component. Nylon gears inside gate operators are particularly vulnerable. Each thermal cycle stresses the gear teeth microscopically. Over several years, those micro-stresses accumulate into visible wear, then into stripped teeth. A gate that runs smoothly in the morning but shudders in the afternoon heat is often showing the first signs of nylon gear wear. That’s not a lubrication problem. It’s a replacement indicator.
Sun degradation is the third factor. UV exposure in Inglewood breaks down plastic housings, keypad membranes, and wire insulation faster than in coastal cities with more cloud cover. A keypad that’s been in direct sun for four years will often have a cracked membrane that lets moisture into the circuit board. The gate still works, right up until it doesn’t. Checking that housing isn’t part of most generic checklists from the Midwest. Here, it should be.
Tier One: Safety-Critical Items (Check First, Every Time)
These are the items that can hurt someone or cause a four-figure repair if they fail. Check them every time you inspect your gate, and honestly, check them monthly if your gate gets daily use. Each item below includes what to look for and what a failure costs, so you can see the stakes before you start.
1. Photo-Eye Alignment (the infrared beam that stops the gate if something crosses the path)
The photo-eye, also called a safety beam or photo-cell, is the infrared sensor pair mounted near the ground on either side of the gate opening. When something breaks the beam while the gate is closing, the gate should stop and reverse. If the photo-eye drifts out of alignment, even by an inch or two, the beam no longer connects and the gate may refuse to close, or worse, close without stopping for obstructions.
What to check: Look at both photo-eye housings. They should point directly at each other. If one has been bumped by a trash bin, a car bumper, or a landscaper’s mower, it may be angled slightly away. On most systems, a small LED on each eye shows green when aligned and red when not. If you see red, the beam is broken or misaligned.
What a miss costs: A gate that won’t close is a security problem on an Inglewood driveway. A gate that closes on a car or a child is worse. Misaligned photo-eyes are the most common cause of both. Repairs are usually simple and inexpensive if caught early, but a gate that’s been closing on obstructions for months may have damaged the drive mechanism too.
2. Reversing Sensitivity (the force sensor that makes the gate back off)
Separate from the photo-eye, most automatic gate operators have a force sensitivity setting that detects resistance. If the gate hits something solid, the motor senses the increased current draw and reverses. Over time, this setting drifts, especially on systems with analog potentiometers, and some homeowners or handymen will deliberately set it too high to “fix” a gate that keeps reversing. That disables a safety feature.
What to check: Close the gate and hold a firm but soft object, like a thick cardboard box or a rolled-up towel, in the gate’s path. The gate should reverse within a second or two of contact. It should not push through the object. If the gate vibrates, groans, or continues to force the object, the sensitivity is set too high or the sensor has failed.
What a miss costs: A gate that doesn’t reverse on contact will eventually hit a car, a person, or a pet. Beyond the safety issue, repeated impact damage bends gate frames, cracks welds, and destroys motor mounts. We’ve repaired gates in Inglewood where a misadjusted force setting caused the gate to hammer its own end-stop for months, eventually cracking the rack gear, as noted in Gate Repair Permits, Codes & Inspections in CA: What You Need to Know. That’s a $600 to $900 repair that started as a ten-minute adjustment.
3. Gate Stop and End-Limit Settings
The end-limit settings tell the operator where the gate should stop in the open and closed positions. If the limit is set too far, the gate slams into its physical stop every cycle. If it’s set too short, the gate doesn’t fully close, leaving a gap. On a slide gate, an incorrect limit setting causes the gate to slam into the end post or the receiver plate, transmitting shock through the drive chain and motor mount every single cycle.
What to check: Run the gate through a full open and close cycle. Watch the final six inches of travel in each direction. The gate should decelerate smoothly and stop gently. If you hear a clunk, a bang, or the gate shudders at the end of travel, the limit is wrong or the deceleration function isn’t working.
What a miss costs: Repeated slamming breaks chains, bends rack gears, and eventually cracks the motor mount. Motor mount replacement on a slide gate typically runs $350 to $600 for the part and labor. Chain replacement is another $200 to $350. All of it preventable with a 30-second observation.
Tier Two: Failure-Expensive Items (Check Monthly)
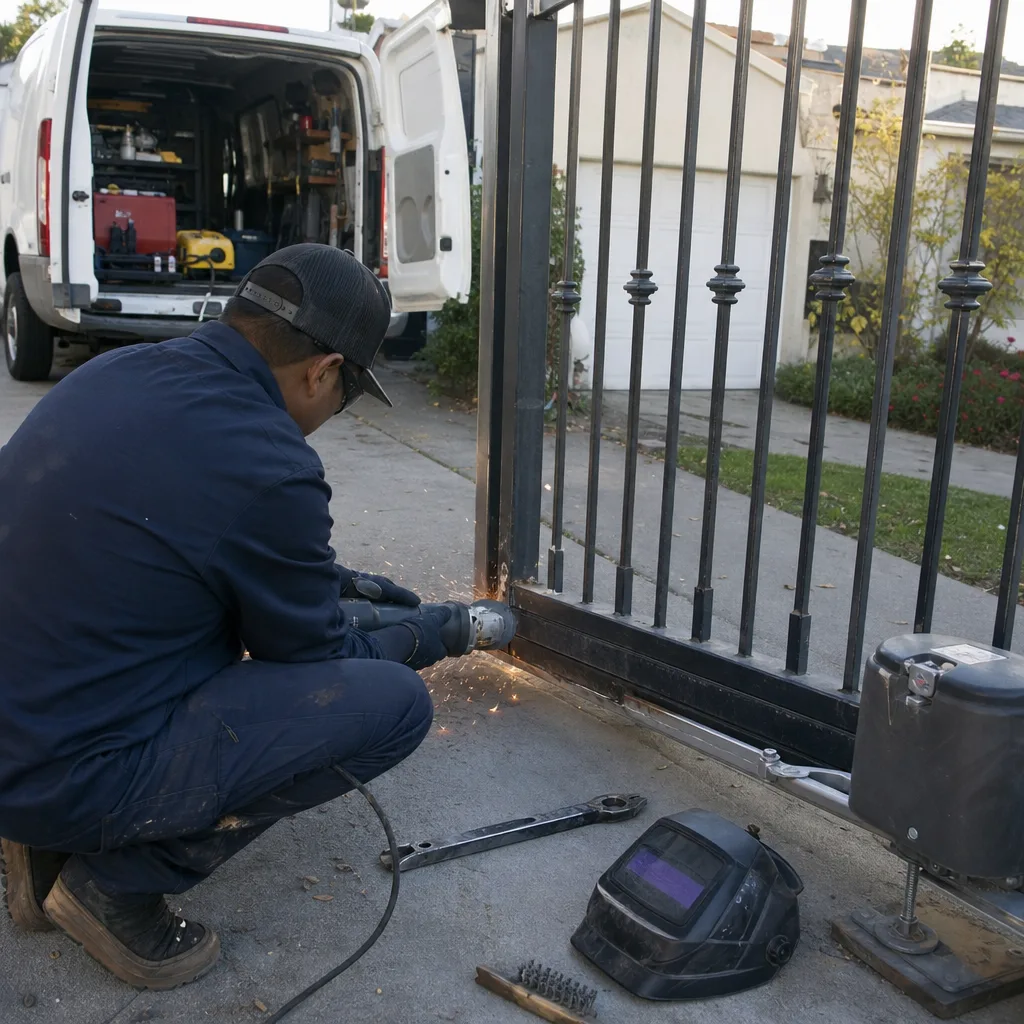
These items won’t typically hurt anyone if they fail, but they will cost you real money. They’re the difference between a $95 lubrication service and a $900 repair. Check them monthly or at minimum every other month during the October-to-March marine-layer season.
4. Terminal Block and Wiring Corrosion
This is the Inglewood-specific item that generic checklists miss entirely. Inside your gate operator housing, the wires from the photo-eyes, keypad, loop detector, and power supply all connect to a terminal block. That block is exposed to the same marine air that corrodes everything else, and the housing is not airtight. Salt-laden moisture gets in, settles on the terminals, and starts eating the copper.
What to check: Open the operator housing. If there’s visible green or white corrosion on any terminal, or if any wire insulation looks cracked or powdery, you have marine-layer corrosion. In our experience, this appears on Inglewood gates after two to three winters, sometimes sooner on gates near busy streets where road spray adds to the mix.
What a miss costs: Corrosion on a terminal block causes intermittent operation first, then total failure. If caught while it’s just a dusting of green, a technician can clean the terminals and apply dielectric grease for a service call fee. If ignored until the connection fails, the wire often needs to be cut back and re-terminated, and sometimes the terminal block itself needs replacement. That’s $180 to $400 depending on the operator brand and how much wire needs to come out. On a LiftMaster or FAAC board, a corroded terminal block can also damage the main control board, and that’s a $300 to $700 part.
5. Nylon Gear Wear (the telltale shudder)
Most residential gate operators use a nylon gear as a sacrificial component between the motor and the drive mechanism. It’s designed to wear out before the motor does, which is good design, but it means every gate operator has a limited gear life. Inglewood’s thermal cycling shortens that life, because expansion and contraction stress the gear teeth with each temperature swing.
What to check: Listen to the gate during operation. A healthy gear set is nearly silent, just a low hum from the motor. A worn gear produces a distinctive chattering or fluttering sound, especially under load, that gets louder over time. Also watch the gate itself: if it shudders, jerks, or seems to hesitate mid-travel, that’s often nylon gear wear telegraphing through the drive train.
What a miss costs: A stripped nylon gear is the single most common cause of a gate that won’t move at all. The motor runs, but nothing happens. Gear replacement on a LiftMaster, BFT, or Linear operator typically runs $220 to $380 including the part and labor. If the stripped gear damages the drive shaft or the motor mount, the repair climbs. If the gate was forced open or closed while the gear was stripped, the damage often extends to the chain, the rack, or the gate wheels.
6. Drive Chain Tension and Rack Condition (slide gates)
Slide gates in Inglewood are common, especially on narrower lots and properties where a swing gate would block the sidewalk or the driveway. The drive chain or rack gear transfers motor power to the gate. When the chain stretches, which happens gradually over thousands of cycles, the gate starts to jerk on startup and stop. A loose chain also slaps the chain guide, which wears both components unevenly.
What to check: With the gate closed, push on the chain with your hand. It should have about a quarter-inch of deflection, not a visible sag. Look at the teeth on the rack gear. If they look sharp, hooked, or thinner toward the top than the base, they’re worn. If the chain is loose enough to see daylight between the chain and the sprocket on the underside, it’s past due.
What a miss costs: A loose chain eventually jumps the sprocket. When that happens under load, the shock can bend the motor shaft, crack the motor mount, or snap the chain itself. Chain replacement alone is $180 to $300. Motor shaft replacement means a new operator, which is a different conversation.
7. Gate Wheels and Track (slide gates)
The wheels carry the entire weight of the gate and roll along the track or rail every cycle. When a wheel bearing seizes, the wheel stops rolling and starts scraping. The gate gets harder to move, the motor works harder, and the extra load accelerates wear on every other component in the drive train.
What to check: Look at each wheel. It should roll freely when the gate moves, not slide or scrape. Look for flat spots on the wheel surface, wobble, or metal-on-metal contact. Clean the track of leaves and debris. During the Inglewood fall and winter, eucalyptus leaves and jacaranda petals accumulate in slide-gate tracks faster than anywhere we’ve worked.
What a miss costs: A seized wheel on a heavy slide gate can snap the drive chain or strip the gear in months, not years. Wheel replacement typically runs $60 to $120 per wheel. A broken chain from the added load is $180 to $300, plus the wheel. It’s a compounding failure, and catching the wheel early prevents all of it.
Tier Three: Convenience Items (Check Quarterly)
These are the items that annoy you when they fail but rarely cost more than a service call to fix. They’re worth checking, just not at the expense of the items above; see more guides & resources for deeper dives on each tier. Do them quarterly, and if you’re short on time, skip these before you skip Tier One or Tier Two.
8. Remote Range and Keypad Function
Remote range drops as the antenna degrades, the battery weakens, or interference increases. In Inglewood, where houses sit close together and every neighbor has a garage door, a gate remote, a Wi-Fi mesh network, and sometimes a smart meter, interference is common. A remote that worked at 80 feet last year now working at 20 feet is often picking up noise from a new device on the block, not failing on its own.
What to check: Stand at several distances and test the remote. Note where it works reliably and where it doesn’t. If the keypad backlight is dim, the face is cracked, or the buttons need multiple presses, note that too. Keypads in direct sun degrade faster, and Inglewood gets roughly 280 days of sunshine a year.
What a miss costs: A failing remote is rarely more than a battery or a reprogramming job, usually under $100. A failing keypad that lets moisture into the circuit board can cost $120 to $250 to replace. Convenience money, not emergency money, but worth catching before you’re standing in the rain with a gate that won’t open.
9. Hinge Lubrication (swing gates)
Hinges on swing gates carry the gate’s weight and take the friction of every cycle. Without lubrication, the hinge pins wear, the gate starts to sag, and the leaf drags on the ground or catches on the latch post. A sagging gate stresses the weld joints at the hinge mounts, which are expensive to repair.
What to check: Open and close the gate manually once or twice. It should move smoothly without squealing, grinding, or catching. Look at the hinge pins. If they’re bright and shiny where they rotate, they’re wearing. If the gate leaf has visible sag, that’s not a lubrication issue, it’s a structural one.
What a miss costs: Lubrication is a $10 can of spray and ten minutes of work. Worn hinge pins are $40 to $80 each to replace. A sagging gate that’s cracked a weld at the hinge mount is $250 to $500 to repair, because it requires jacking the gate, grinding the old weld, and re-welding with the gate in alignment.
10. Battery Backup Function
Power outages in Inglewood aren’t common, but when they happen, a gate with a dead battery backup becomes a manual gate. Most battery backups are sealed lead-acid units that last three to five years. After that, they won’t hold a charge, and you won’t know until the power goes out and the gate won’t open.
What to check: Look at the battery backup indicator on the operator. Most systems show a green LED when the battery is charged and a red or amber LED when it’s not. If your system has a test function, use it. If you don’t know whether you have a battery backup, you probably don’t, and that’s worth knowing before an outage.
What a miss costs: Replacement batteries run $80 to $160 installed. The cost of not having one is being unable to open your gate during a power outage, which means parking on the street or hand-releasing the gate, which is not something you want to learn how to do in the dark.
The Three Sounds a Gate Makes Before a Gearbox Fails
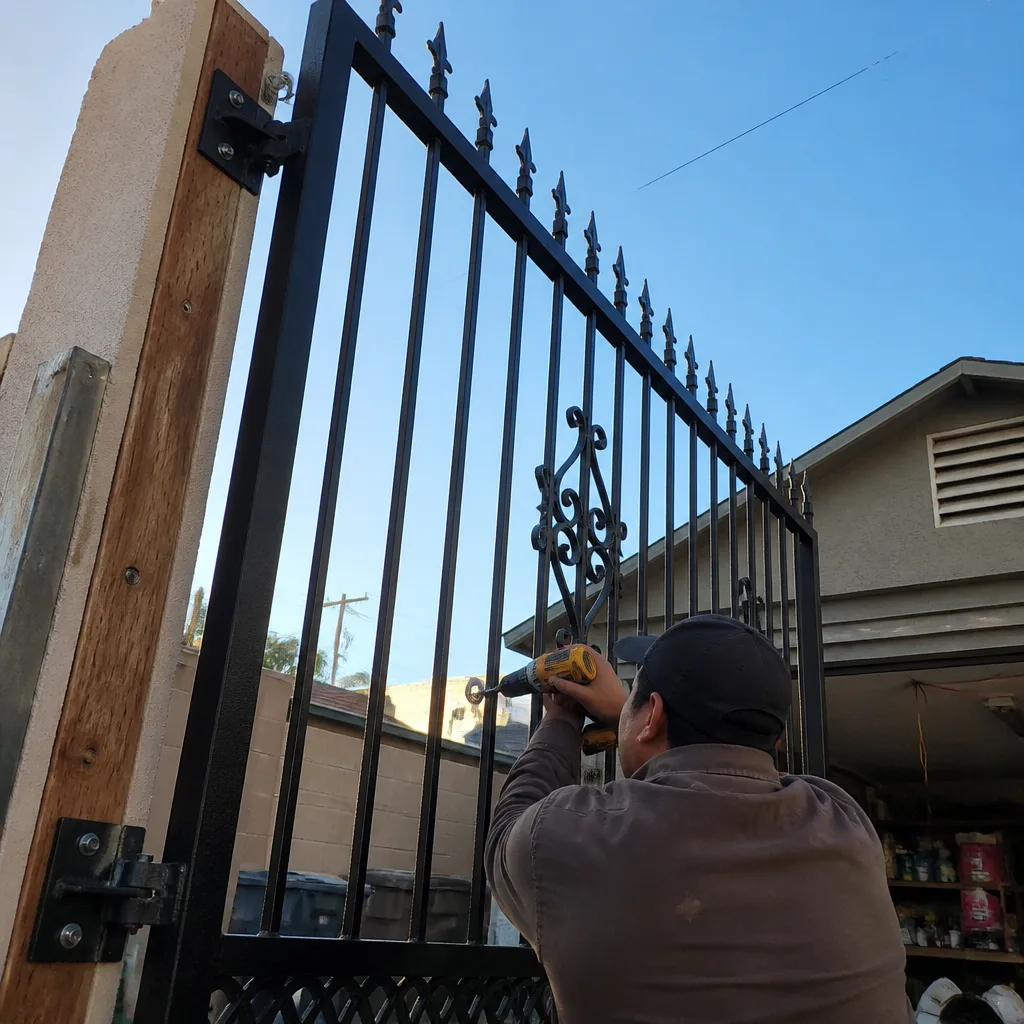
Gearbox failures almost never happen without warning. The warning is audible, but only if you know what to listen for. In our experience repairing gates across Inglewood, there are three distinct sounds that precede most gearbox failures, and each one has a typical timeline.
Sound One: The Click (4 to 6 weeks before failure)
The first sign is a single sharp click or tick that happens once per cycle, usually at the same point in the gate’s travel. It’s easy to miss if you’re not paying attention, but if you stand near the operator while the gate runs and listen, you’ll hear it. That click is a gear tooth with a hairline crack or a bearing with a flat spot. It’s not catastrophic yet, and the gate still opens and closes normally. But the clock has started.
If you hear this click consistently, call for service now. Gear replacement at this stage is a $200 to $350 job on most operators. Wait, and the next sound is coming.
Sound Two: The Chatter (2 to 3 weeks before failure)
Once the damaged tooth or bearing gets worse, the click becomes a chatter, a rapid ticking or fluttering that happens under load. On a slide gate, you’ll hear it most clearly when the gate starts from a stop or when it’s pushing against a slight incline. On a swing gate, it’s loudest when the operator is fighting the wind, which is common in Inglewood on gusty afternoons.
Chatter means a gear tooth is partially stripped or a bearing is grinding itself down. The repair is still a gear replacement, but now the metal shavings from the failing component are circulating through the gearbox oil, which means the technician needs to clean the housing and replace the lubricant too. Plan on $250 to $400.
Sound Three: The Grind (3 to 5 days before failure)
When the chatter becomes a continuous grinding sound, the gear is fully stripped and the motor is spinning against metal fragments. At this point, the gate may still move, but it’s doing so on borrowed time. Continuing to run the gate in this condition risks damaging the motor shaft, the drive chain, and in some cases the control board, because the added load draws more current through the electronics.
If you hear grinding, stop using the gate and call a technician. The repair at this stage often involves more than a gear replacement: a gearbox rebuild on a Linear or BFT operator can run $450 to $700, and that’s if the motor shaft survived. If it didn’t, you’re looking at a new operator, which is $1,200 to $2,000 installed, depending on brand and gate weight.
These three sounds are the reason we recommend listening to your gate once a month. Ten seconds of attention, every month, catches the click before it becomes the grind.
How to Document Your Inspection with a Phone Camera
You don’t need a technician’s tools to create a useful inspection record. Your phone camera is enough, and the record you create will help any technician who works on your gate later. Here’s the method we use on every gate repair in Inglewood, adapted for a homeowner doing their own inspection.
- Take a wide shot first. Stand back and photograph the entire gate and operator from the front. This establishes the before-state and gives a technician context before they’ve even arrived. Do the same from the driveway side.
- Shoot the photo-eyes close up. Get within a foot of each photo-eye and photograph the lens and the housing. If the lens is fogged, clouded, or covered in salt residue, the photo will show it. If one eye is angled slightly, the photo preserves that angle for comparison next month.
- Photograph the terminal block. Open the operator housing and take a clear photo of the wiring connections. Do this same shot each time. Over several months, you’ll be able to see corrosion developing before it becomes a problem, because you’ll have the photographic baseline to compare it against.
- Shoot the gear area. If your operator has a visible gear, photograph it. Look for metal shavings, gray dust, or oil film around the gear housing. Those are the forensic traces of gear wear, and a photo captures them better than a quick glance.
- Photograph the chain or rack from underneath. On a slide gate, crouch down and photograph the underside of the rack gear and the chain. Wear patterns, hooked teeth, and flat spots show up clearly in a close photo.
- Photograph the wheels and track. Each wheel, at its contact point with the track. Flat spots and debris accumulation are obvious in photos.
- File the photos by date. Create a folder on your phone called “Gate Inspection” and subfolders by month. When you call a technician, you can send them the most recent inspection and the one from six months earlier. The comparison is often more useful than the current state alone.
This documentation habit is the exact one we follow on every service visit. Before we leave a property in Inglewood, the homeowner gets a photo log of what we found, what we adjusted, and what we installed. It’s part of our Haven Standard, specifically Clause 4: Evidence on every job. Your own phone-camera record works the same way, and it costs you nothing but five minutes a month.
What to Do When an Inspection Item Is Ambiguous
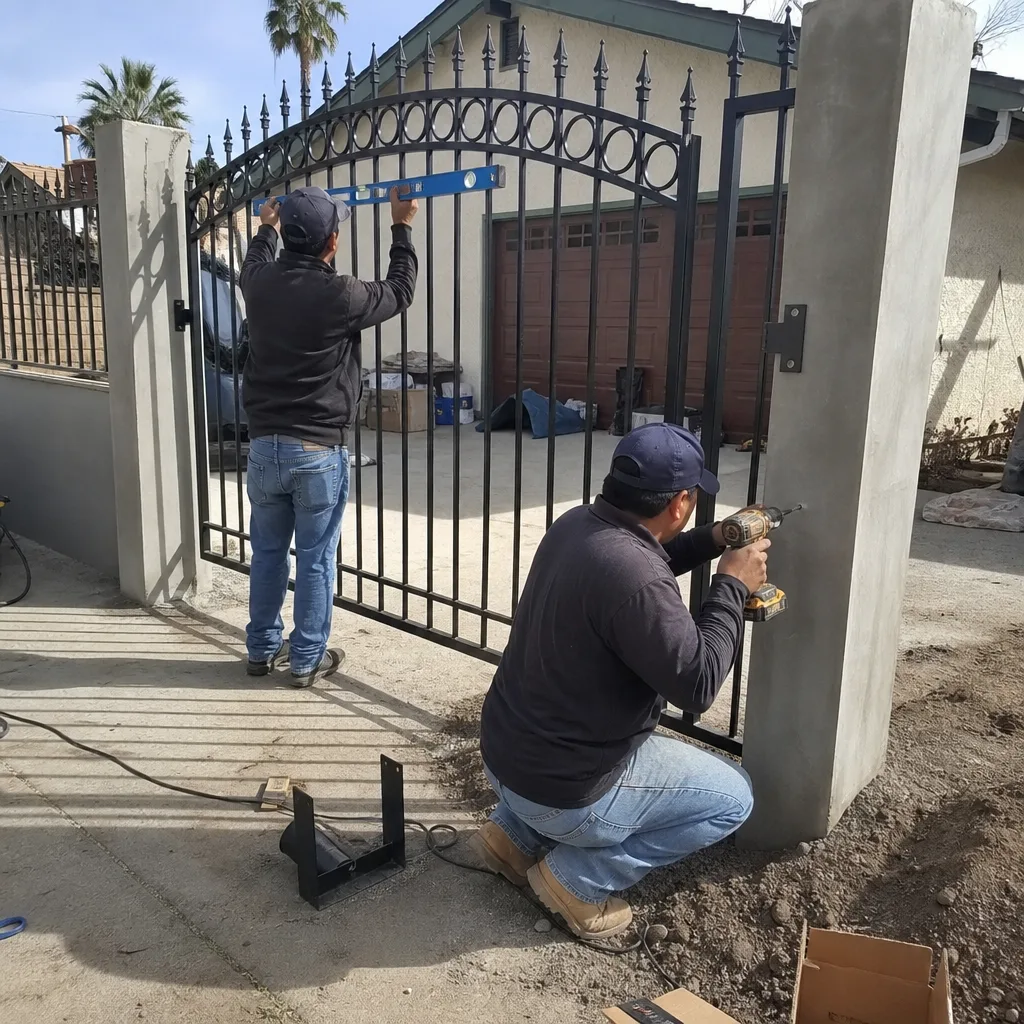
Some inspection findings are unclear. The gate makes a noise you can’t identify. The photo-eye LED flickers instead of staying green. The chain sags, but you’re not sure how much sag is too much. When you’re not sure whether something is a watch-item or a fix-now item, the way you ask about it determines whether you get a useful answer or a sales pitch.
Here are the questions we recommend asking a contractor, because they force a specific answer:
- “If I do nothing, what’s the most likely failure, and what does it cost?” A technician who gives you a range and a timeline is giving you diagnostic information. A technician who jumps straight to a replacement quote is not.
- “Can you show me the wear you’re seeing?” A photo of a worn gear tooth or a corroded terminal is evidence. If the contractor won’t show you, ask why not.
- “What’s the repair cost versus the replacement cost, and how much service life does the repair buy?” A $350 gear replacement that buys five more years is almost always better than a $1,800 operator replacement that buys ten. The math matters, and a good technician will help you do it honestly.
- “If you fix this now, what does the old part look like when you take it out?” You should see the failed component. We hand fallen parts back to homeowners in Inglewood on every repair, because evidence is the point.
- “Is this something I can watch for another month, or does it need attention this week?” If the answer is “watch it,” ask for the specific thing to watch for and the specific sound or symptom that means it’s time to call.
One more thing: if you have a written estimate from another company and the diagnosis feels uncertain, we’ll review the paperwork at no cost. Bring it to Vance Gate Repair Inglewood and we’ll tell you whether the diagnosis, the scope, and the price make sense. A second opinion on a written estimate is free, and it’s the fastest way to confirm whether an ambiguous item is a watch-item or a fix-now item.
Common Mistakes to Avoid
- Lubricating without cleaning first. Spraying fresh lubricant onto a hinge or a chain that’s coated with Inglewood marine-layer grime just creates an abrasive paste that accelerates wear. Wipe the component down with a rag first, then lubricate.
- Adjusting the reversing sensitivity upward to “fix” a gate that keeps reversing. The gate is reversing because something is in the way or the force sensor is reading too much resistance. Raising the sensitivity threshold disables the safety feature. This is the single most dangerous mistake we see on gates throughout Inglewood.
- Ignoring a click or a chatter because the gate still works. A gate that still opens and closes is the best time to fix it, because the repair is smaller and cheaper. Waiting until the gate stops moving means waiting until the repair is bigger and more expensive.
- Checking batteries but skipping the photo-eyes. Batteries are cheap and easy, which is why people check them first. Photo-eye alignment is the safety net for anyone who walks, bikes, or drives through that gate, and it’s the item that causes the most security and safety failures when neglected.
- Using a pressure washer on the operator housing. The marine layer is already taxing the seals. Blasting the housing with pressurized water forces moisture and salt past the gaskets and onto the terminal block. Use a damp cloth instead, and keep the pressure washer away from the motor.
- Forcing a gate open or closed when the operator resists. When a gate is stuck, the mechanism is usually still engaged. Forcing it damages the gear, the chain, the rack, or all three. Release the operator first, or call a technician. On a high-tension spring or cable system, never attempt to release tension yourself: torsion springs store lethal energy, and the release should be handled by a trained professional.
- Skipping documentation because “it looks fine.” The photo you don’t take this month is the baseline you don’t have next month. The comparison between inspections is where the early warning lives.
When to Call a Professional
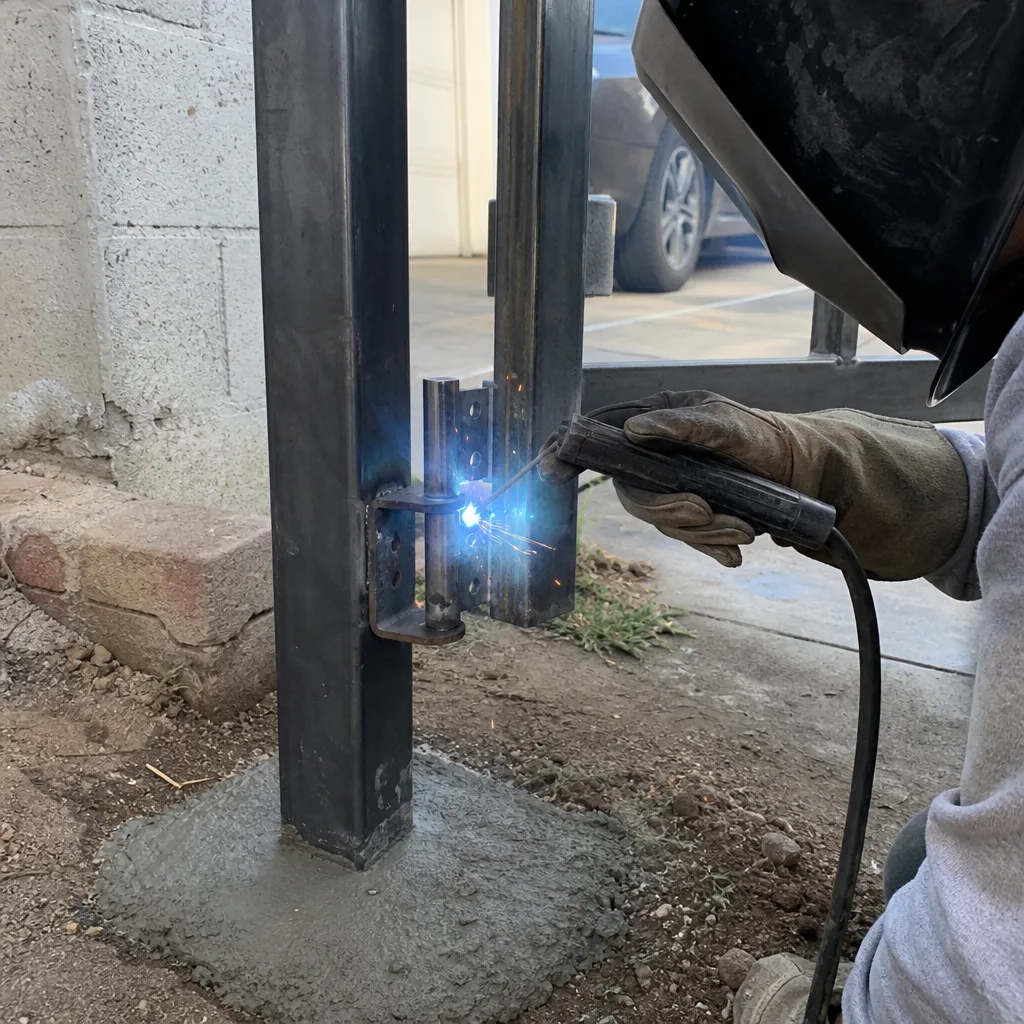
Some items on any maintenance checklist are within a homeowner’s reach. Others are not. If you see green corrosion on a terminal block, hear the chatter or the grind, find a wheel that’s stopped rolling, or notice your photo-eye beam won’t stay green no matter how you adjust it, those are technician-level items. The same goes for anything involving high-tension springs, counterweights, or a gate that’s fallen out of alignment. None of those are safe to force. Gate systems combine heavy steel, stored spring energy, and high-current electrical components, and some failures are genuinely dangerous to diagnose by hand.
If you’re in Inglewood and any of the Tier One or Tier Two items on this checklist show up, call (424) 380-7998. We’ll send a uniformed, background-checked technician with a written price before any work starts, and you’ll get a photo record of what was found and what was done when the job is complete. That’s how gate motor and opener service in Inglewood should work, and it’s how we do it.
Frequently Asked Questions
Check the safety-critical items (photo-eye alignment, reversing sensitivity, and end-limit settings) once a month. Check the failure-expensive items (terminal block corrosion, gear wear, chain tension, and wheel condition) every one to two months during the October-to-March marine-layer season, and quarterly the rest of the year. Convenience items like remote range and keypad function can wait for a quarterly check. If your gate gets more than ten cycles a day, shift everything up one level of frequency.
A basic gate tune-up in Inglewood typically runs $95 to $180 depending on the gate type and the operator brand. That usually covers cleaning and lubricating the drive components, checking photo-eye alignment, testing reversing sensitivity, inspecting the terminal block for corrosion, and tightening hardware. If the service includes gear replacement, chain adjustment, or wheel replacement, expect the total to land in the $250 to $500 range. Call (424) 380-7998 for a written quote. The price is set before work starts, and it’s the same price you’ll see on the invoice.
You can and should do the visual and audible inspections yourself: listen for clicks, watch the gate for shuddering, photograph the terminal block, and check the photo-eye LED. Cleaning, lubricating, and photographing are all homeowner-appropriate. What you should not do yourself is anything involving high-tension springs, gearbox internals, or electrical wiring. Those are technician-level tasks, and on a gate, the difference between a safe DIY job and a dangerous one is not always obvious from the outside. If you’re not sure whether a task is safe, call a professional.
There’s no single easiest brand, but we’ve found that LiftMaster and FAAC operators tend to hold up best against marine-layer corrosion because their terminal blocks and control boards are better sealed than some competitors. BFT and Linear operators are solid machines, but their housings benefit from an extra check during the wet months. The key is matching the maintenance to the brand: a sealed LiftMaster still needs its photo-eyes and gear inspected, and an unsealed BFT needs its terminal block checked more often. We service all nine major automation brands, which is why we can give this advice without trying to steer you toward a replacement.
Photo-eye misalignment is the most common problem we see on gate installations in Inglewood, followed closely by terminal block corrosion and nylon gear wear. The photo-eye issue is usually caused by something bumping the sensor housing, which happens constantly on driveways with trash bins, kids, and tight parking. The corrosion and gear wear are slower and quieter, but they show up on nearly every gate that’s been in service for more than a few years.
A well-maintained gate operator in Inglewood typically lasts 8 to 12 years, with the nylon gear replaced once or twice during that span. Without maintenance, the same operator often fails in 4 to 6 years, usually from a stripped gear or a corroded terminal block. The maintenance does two things: it catches the cheap repairs before they become expensive ones, and it extends the life of the components that are expensive to replace. Ten minutes a month is the best return on maintenance time you’ll find anywhere on the property.
Yes. We service gates installed by any company, on any of the nine automation brands we work with: LiftMaster, FAAC, BFT, Linear, Viking, Ghost Controls, DoorKing, Elite, and Mighty Mule. The motor on your property is the motor we’ll work on. We don’t steer customers toward replacements when a repair is the right call, and every maintenance visit includes the same written price and photo documentation, regardless of who installed the gate originally.
The Bottom Line
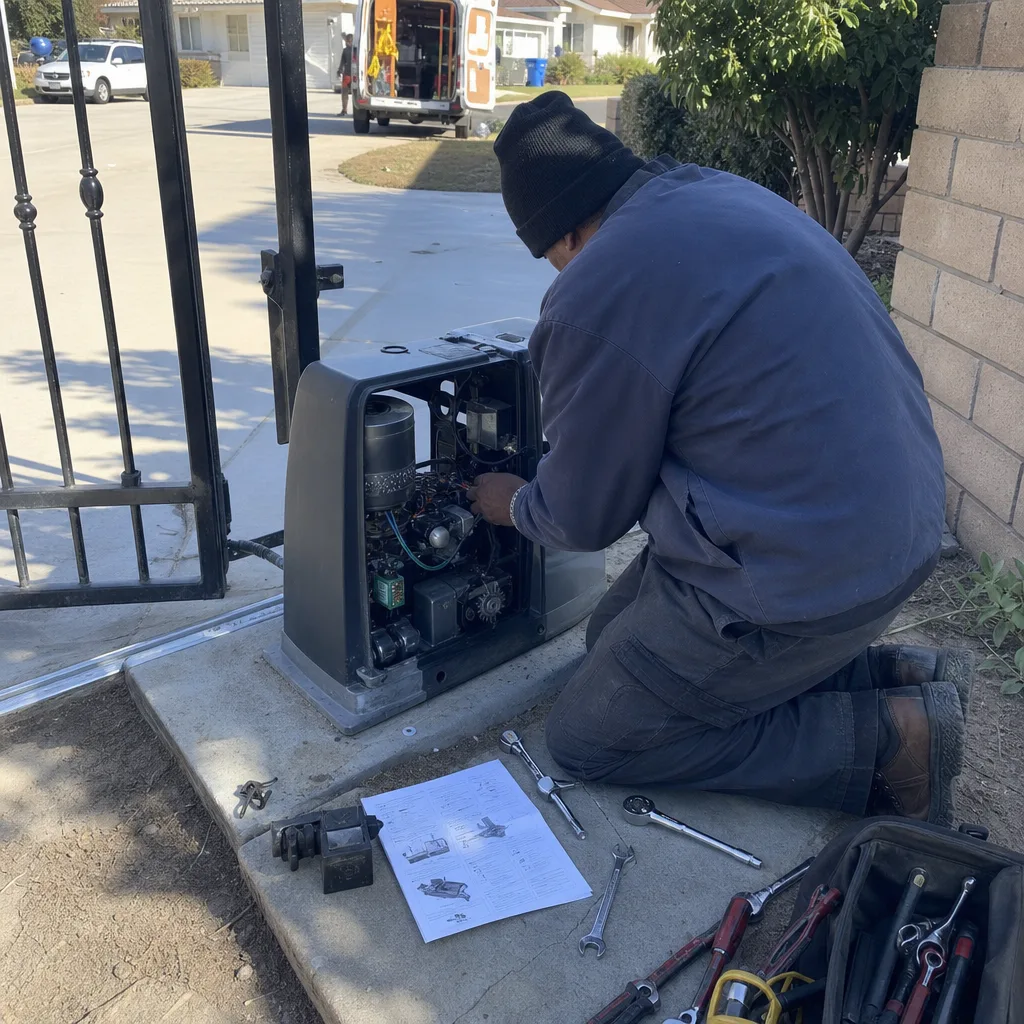
A gate maintenance checklist only works if it’s organized by consequence. The items most likely to cause a $900 repair, a security breach, or an injury need your attention before the items that cause a $40 inconvenience. In Inglewood, that means checking photo-eye alignment, reversing sensitivity, terminal block corrosion, and gear wear first, every month, with your phone camera in hand. The marine layer and thermal cycling are working against your gate all year, but the early warning signs are visible and audible if you know what to look for and what to listen for. And when an item is ambiguous, ask the questions that