
Last updated September 20, 2026
Free on-site gate assessment - hinges, posts, and your LiftMaster or Nice gate operator checked before anything is quoted
The assessment is free and the quote is the invoice.
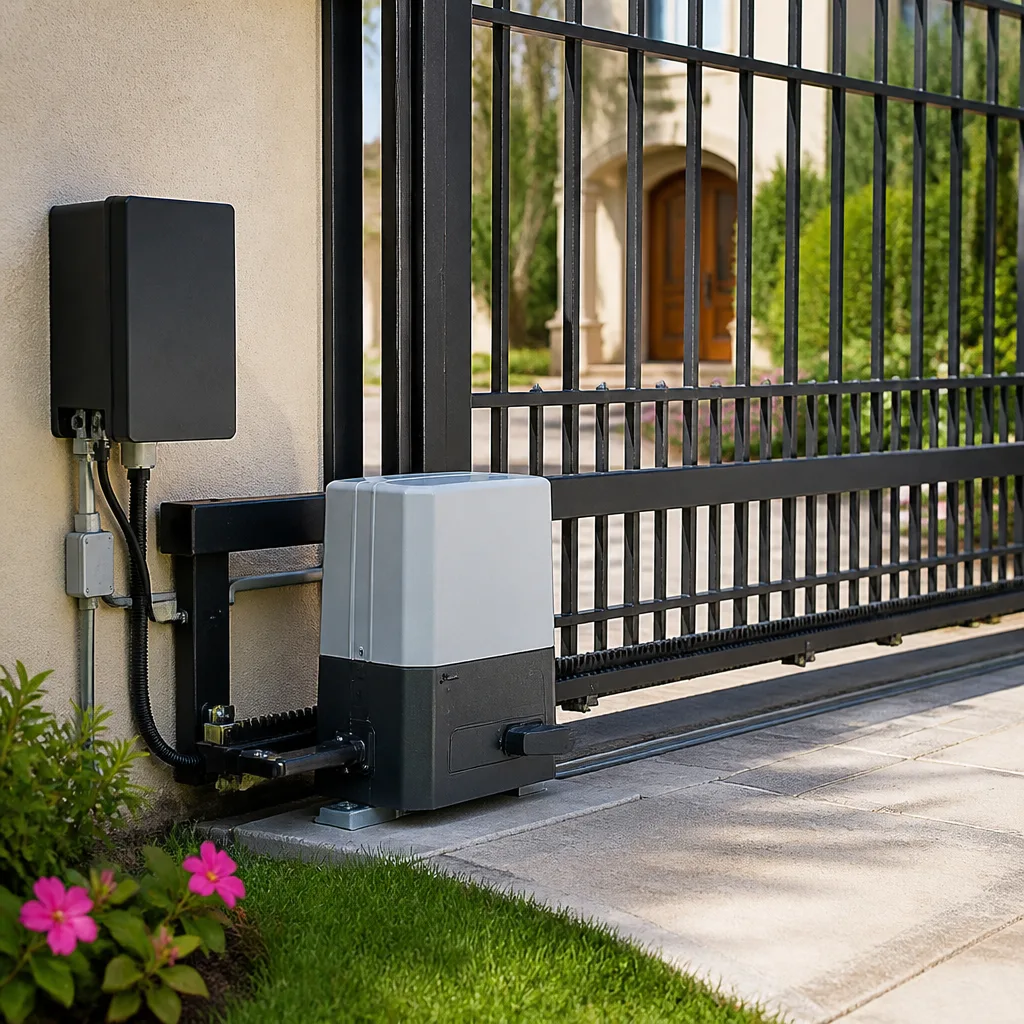
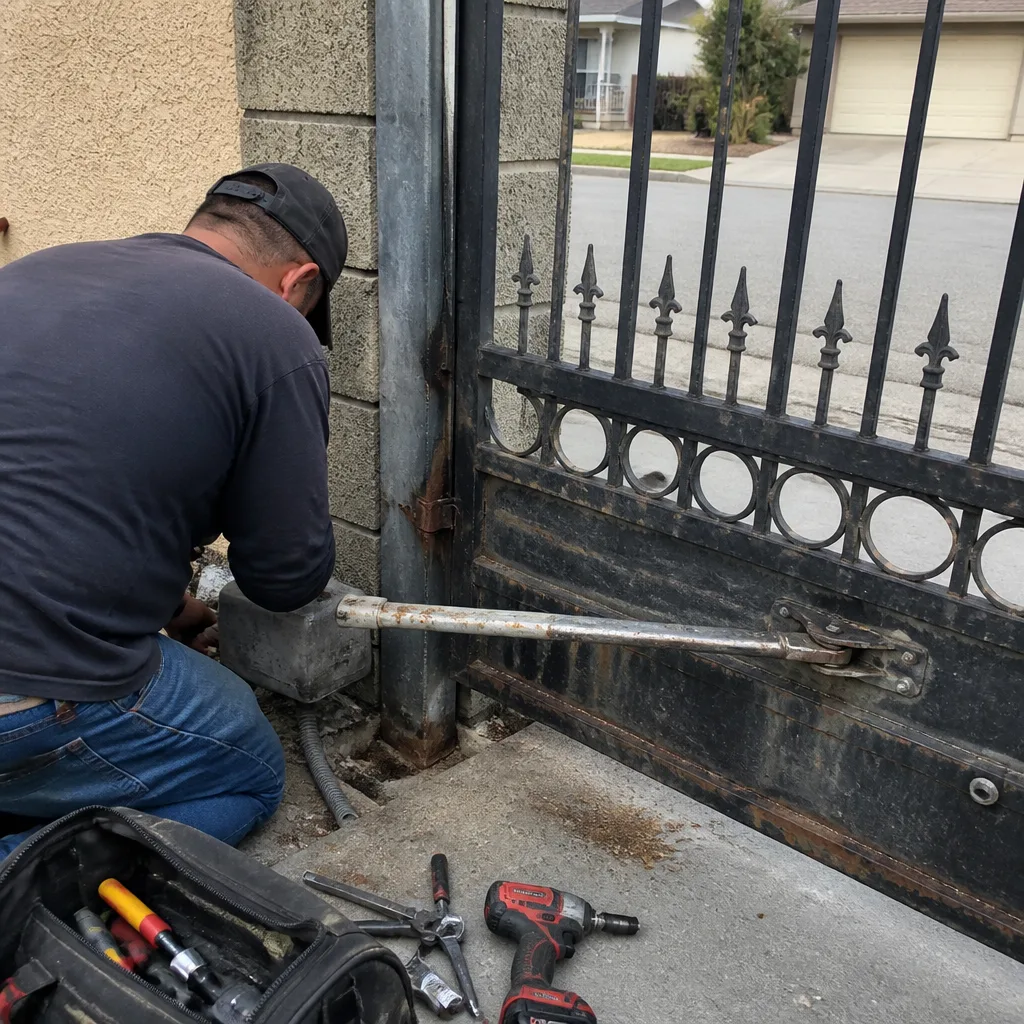 Before
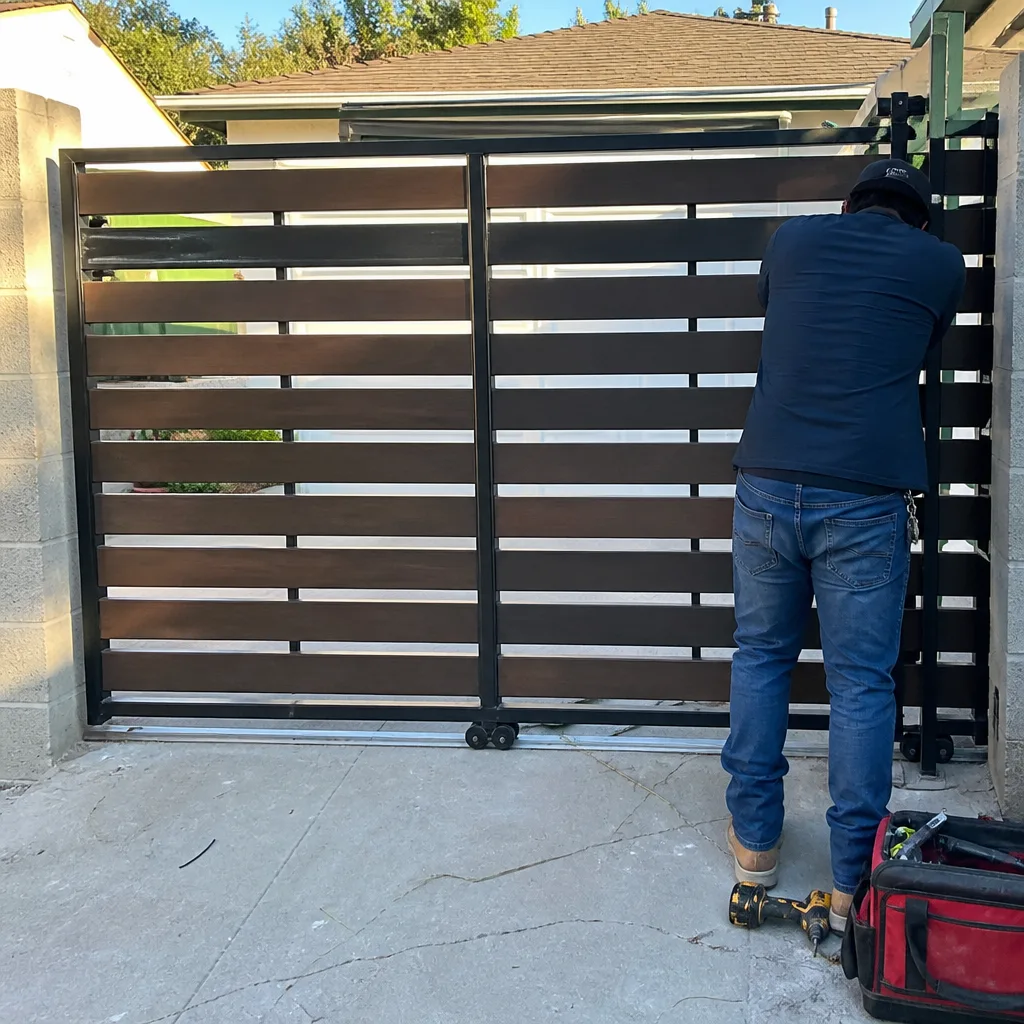 After
After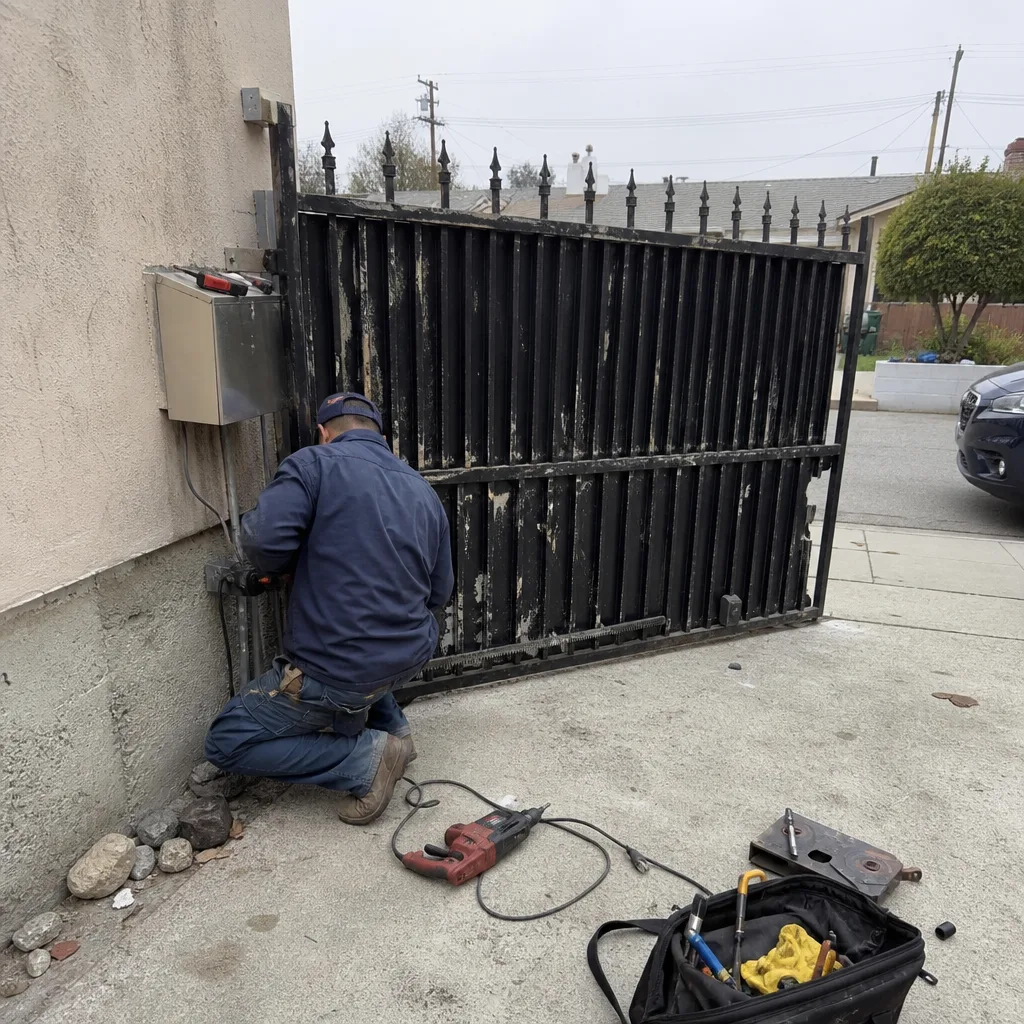 Before
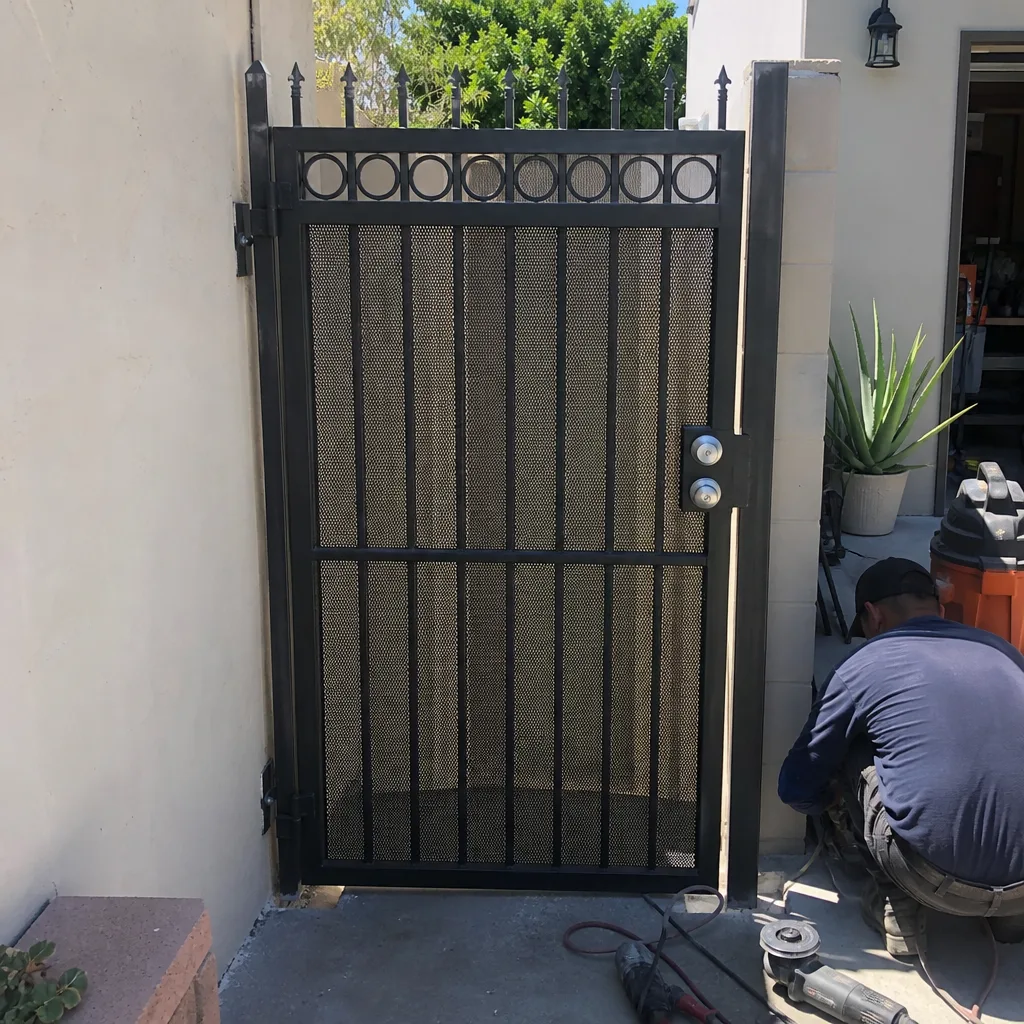 After
After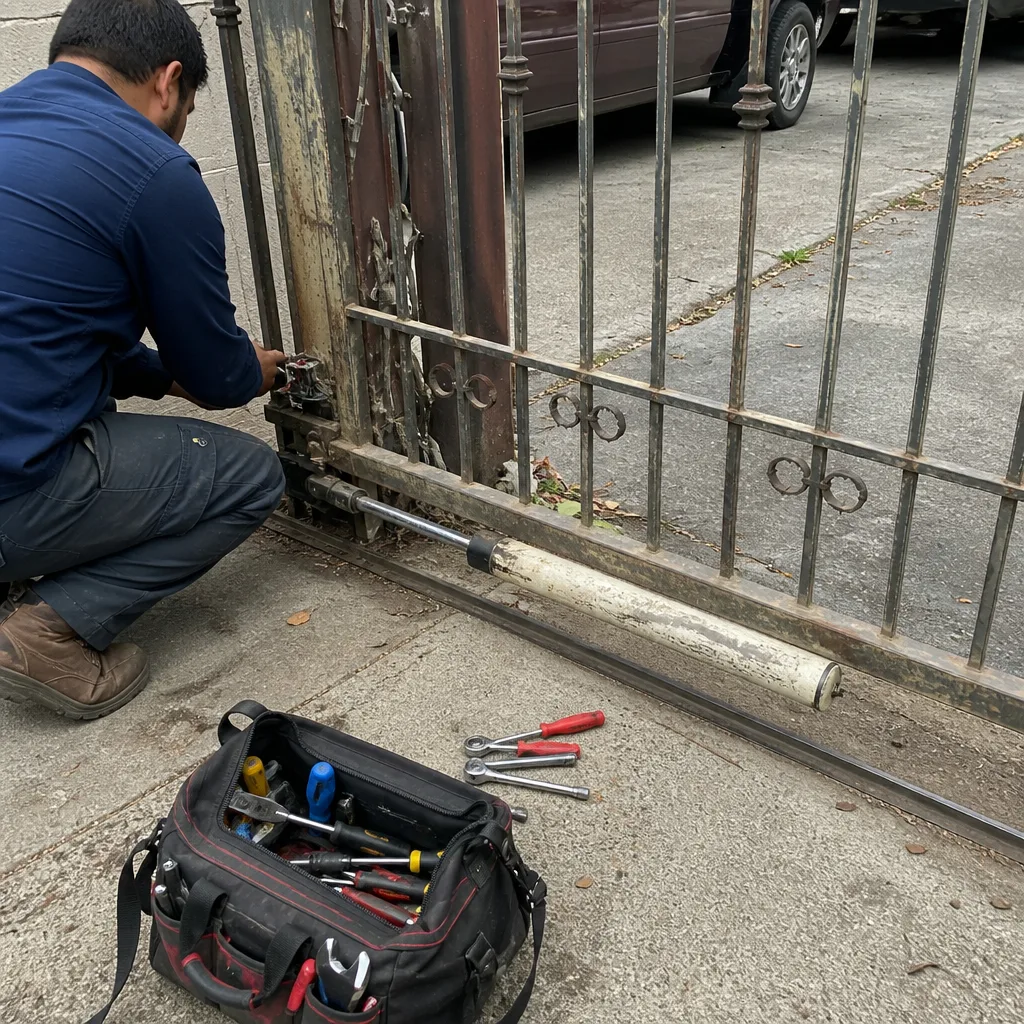 Before
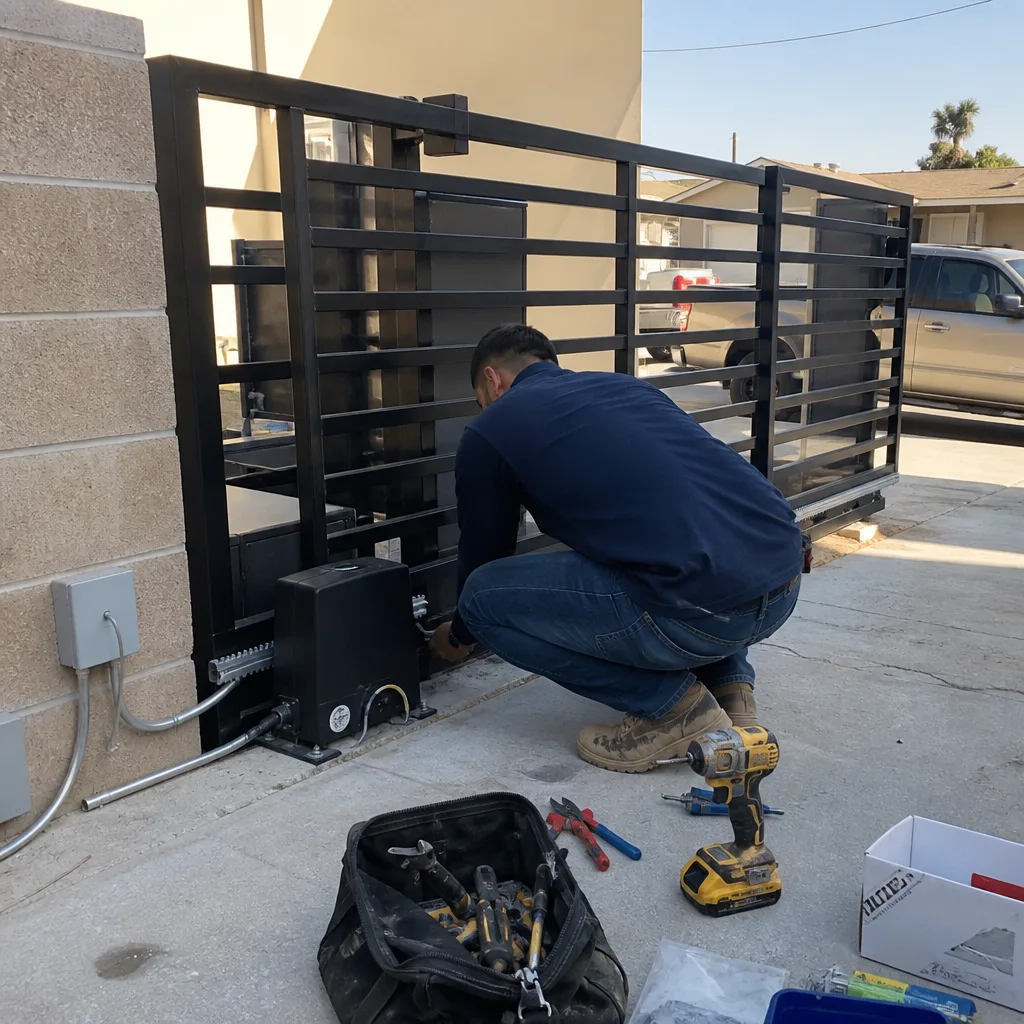 After
AfterDIY vs Professional Gate Repair: The Inglewood Homeowner’s Decision Guide
Adjusting your own gate’s safety reversing sensitivity takes four minutes and a screwdriver. It also voids your UL 325 compliance, and if the gate injures someone after that adjustment, your homeowner’s insurance has a documented reason to deny the claim. That is the uncomfortable reality most DIY more guides & resources on gate repair in Inglewood never mention. This guide walks through the actual decision points: which repairs are legally and practically safe to attempt, which ones expose you to liability, what your insurance policy actually says, and where the real cost difference lands once you account for documentation, diagnostics, and the bill from the technician who has to untangle an undocumented repair job.
Quick Answer
For most Inglewood homeowners, professional Gate Repair services are the right call for anything involving motors, control boards, safety sensors, or structural welding. The repairs that look easiest to DIY are often the ones with the largest liability if they fail, because they touch the UL 325 safety systems your insurance policy expects to be intact. The realistic DIY territory is limited to lubrication, track cleaning, and visual inspections. Everything else carries a documentation risk that is not obvious until a claim is filed.
Table of Contents
- The Boundary Line: What California Law and Your Insurance Actually Allow
- The Liability Question: How a DIY Adjustment Becomes a Denied Claim
- The Real Cost Comparison: DIY Control Board vs. Professional Replacement
- The Documentation Gap: What an Undocumented Repair Costs the Next Technician
- What Inglewood Homeowners Should Actually Do Themselves
- Inglewood-Specific Factors That Change the DIY Math
- Brand-by-Brand: Which Motors Are Forgiving and Which Are Not
- Common Mistakes to Avoid
- When to Call a Professional
- Frequently Asked Questions
- The Bottom Line
BeforeAfterThe Boundary Line: What California Law and Your Insurance Actually Allow
There is a clean dividing line between gate work that is safe for a homeowner to perform and gate work that crosses into licensed-contractor or licensed-electrician territory. Knowing where that line sits in California is the entire foundation of a smart decision. It is not about whether you are handy. It is about what your policy language and the California Business and Professions Code expect.
- Homeowner-appropriate: Lubricating hinges, rollers, and the drive chain. Cleaning photo-eye lenses with a soft cloth. Removing debris from the track. Tightening visible bolts on the gate frame. Inspecting the gate for wear. All of this is normal maintenance, not repair, and no permit or license is involved.
- Borderline, and often unwise: Replacing a battery in a gate motor. Adjusting limit switches. Repositioning a photo-eye. Re-tensioning a drive chain. These tasks look mechanical, but they sit on top of safety-relevant systems. A battery replacement can reset the motor’s force profile. A limit-switch adjustment changes where the gate stops relative to the physical stop point. A photo-eye repositioned two inches wrong changes the detection envelope.
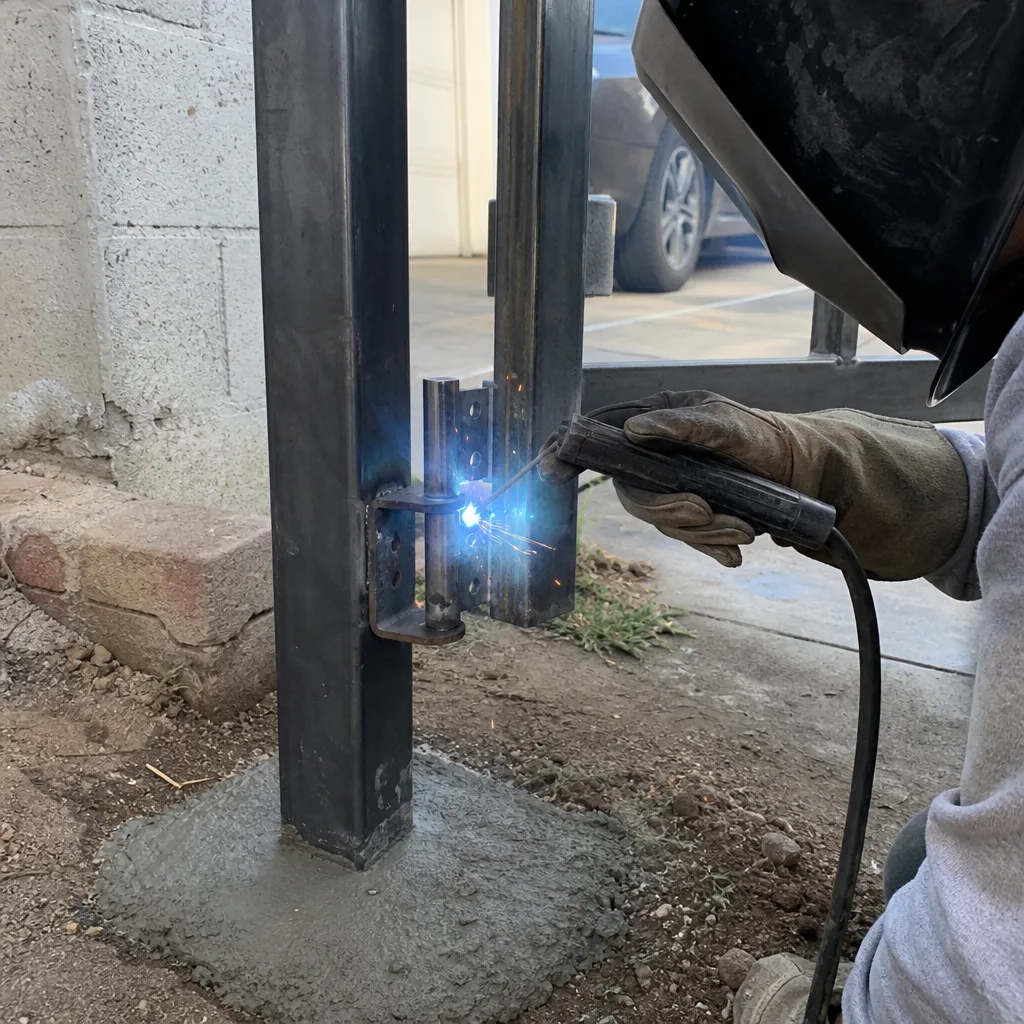
- Definitely professional: Any work on a 120V or 240V supply line to the gate motor. Replacing a control board that includes the safety logic. Welding gate hinges or repairing a cracked post. Replacing a motor arm or gearbox. Installing or rewiring a photo-eye circuit. In California, electrical work beyond a listed scope requires a licensed electrical contractor. Gate motors sit at the intersection of two enforcement areas: the electrical code and the UL 325 standard for gate operator safety.
Inglewood sits in Los Angeles County, where most residential gate work falls under unincorporated county or city code enforcement. The practical point for homeowners is simpler than the legal research: if the repair you are considering touches the motor, the sensors, the control board, or the 120V line feeding any of it, the liability shift is immediate. Your best Gate Repair in Inglewood decision starts with knowing which side of that line you are standing on.
The Liability Question: How a DIY Adjustment Becomes a Denied Claim
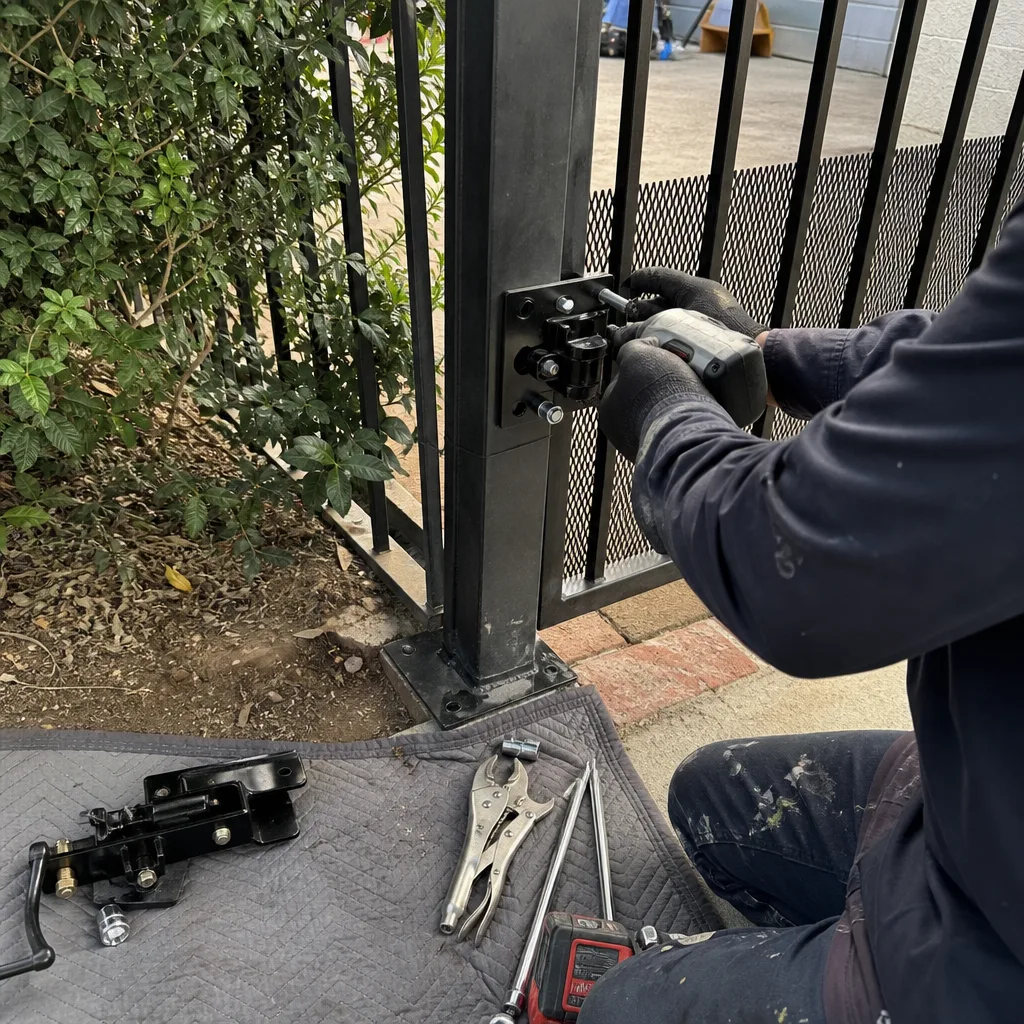
Most homeowners never read the section of their policy titled “Duties After Loss” until a claim is open. The specific language that matters for gate work is usually under exclusions for “faulty workmanship” or “negligent maintenance.” Here is the documented path. A homeowner adjusts the reversing sensitivity on their Mighty Mule opener because the gate was not stopping when the dog ran through. The adjustment works. Three months later, the gate strikes a visitor. The visitor files a claim against the homeowner’s policy. The insurance adjuster asks for maintenance and repair records. The homeowner has none, because the adjustment was never documented and never inspected. The adjuster’s engineering review finds the force setting was below what the gate’s safety system design allows without a re-test. The claim is denied under a negligence exclusion. The homeowner now pays the medical settlement personally.
That path is not theoretical. It is an established insurance pattern with gate operators, because UL 325 compliance is the standard the policy expects to be maintained. A homeowner who adjusts force, speed, or reversing sensitivity has, in the eyes of the carrier, modified a safety device. The modification might be harmless or even necessary. Without documentation, the carrier assumes the worst.
Professional gate repair changes the record. A technician from Vance Gate Repair’s opener service logs the reading before adjustment, the new setting after adjustment, and photographs both. That record becomes the evidence the insurance carrier accepts. The difference between a paid claim and a personal settlement is often a photo log and a written adjustment record.
The Real Cost Comparison: DIY Control Board vs. Professional Replacement
The surface comparison says DIY wins. A homeowner searches online parts suppliers for a LiftMaster control board for an LA400 or LA500, finds one for $140 to $220, and installs it in an afternoon. A professional replacement in Inglewood usually runs $400 to $750 for the board plus labor, depending on the model. On paper, the savings look like $300 to $500. The surface comparison is wrong.
Here is what the DIY board replacement does not include. The homeowner must verify the replacement board is the exact revision for the motor’s firmware. If the board ships with a different revision, the motor may run at a different force profile, which the homeowner has no meter to verify. The wiring harness may be keyed differently across revisions. The limit-switch memory may need re-learning, which requires following the manufacturer’s re-learn procedure exactly. One wiring error can blow the new board, which the supplier will not take back once installed. We have seen homeowners in Inglewood arrive at a $700 total cost after two boards and a weekend of troubleshooting, at which point they call us. The professional route would have been $500, done in a day, with a written price agreed before work.
The real comparison should look like this:
| Cost Element | DIY Control Board | Professional Replacement |
|---|---|---|
| Part cost | $140-$220 | $200-$300 (priced at wholesale, marked up for warranty) |
| Labor | $0 (your time) | $200-$450 flat, quoted in writing before work |
| Diagnostic equipment | None | Force meter, revision check, limit-switch reader |
| Documentation | None | Photo log, written record, part number, revision number, warranty on labor |
| Risk of error | High - one miswired harness destroys the new board | Low - covered by the repair warranty |
| Next technician’s diagnostic time | 1-2 hours to map what was changed, undocumented | 0 - full record in hand |
| True out-of-pocket | $300-$700+ | $400-$750, fixed, agreed before the job |
The cost difference narrows to roughly $100-$200 once you price the risk, the diagnostic time, and the missing record. And that is before the insurance discussion above.
The Documentation Gap: What an Undocumented Repair Costs the Next Technician
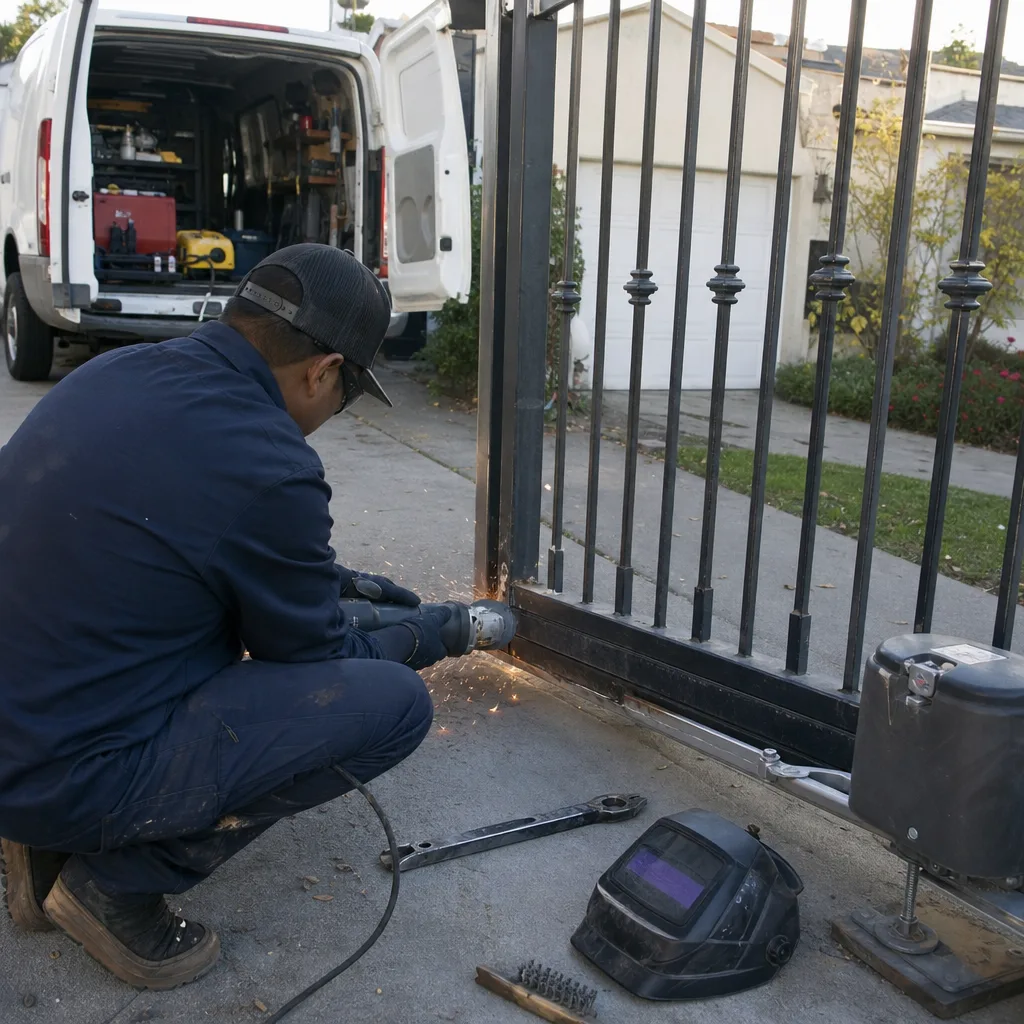
Every technician in this trade can tell you the same story. A homeowner replaced something on the gate. The gate worked for a few weeks. Then it stopped. The technician arrives and finds no record of what part was installed, what brand it was, what the settings were, or whether the wiring was changed. The first hour becomes forensic work. This is why the first bill from a professional after an undocumented DIY attempt is always higher than it should have been.
We do this differently. Our job records include the part number, the revision, the limit-switch reading, the force setting, the photo-eye alignment check, and photos of the board before removal and after installation. That record goes to the homeowner and stays in our file. Under our documentation practice, the next technician does not guess. We saw a FAAC gate in Inglewood this year where the homeowner had replaced a capacitor on the motor. No record. The capacitor leaked and corroded the control board. The diagnostic time to find the root cause was two hours. A written record of the capacitor swap would have pointed us there in twenty minutes.
The documentation gap is a real, billable cost, and it travels silently from one repair visit to the next. When we quote a job after an undocumented DIY repair, our diagnostic time is usually 50 to 100 percent higher than on a gate with a service history. That is not a penalty. It is the time it takes to reverse-engineer a repair that was never written down. For homeowners planning to stay in their Inglewood home for more than a couple of years, the service record from a professional repair is a financial asset. It lowers every future bill.
What Inglewood Homeowners Should Actually Do Themselves
There is exactly one category of gate work we recommend homeowners do themselves, and we recommend it consistently: the monthly maintenance pass. This is the work that prevents the expensive failures, and it is entirely within the safe, legal, and insurable zone. Here is the correct sequence, and how to document what you did.
- Clean the photo-eye lenses. Use a dry microfiber cloth. Wipe both lenses gently. Photograph each lens before and after. This is the most common cause of phantom gate reversals in Inglewood, where coastal dust and dry-season grit settle on the lenses.
- Clear the track and the gate path. Remove leaves, soil, rocks, or anything that sits in the roll path. Check the area where the gate travels for new root growth or cracked concrete. Photograph anything you remove.
- Lubricate the hinges and the drive chain. Use a white lithium spray for hinges and a dry chain lube for the chain. Wipe off excess. Do not over-lubricate; excess attracts grit. Photograph the hinges after lubrication.
- Test the reversing function. Place a sturdy object, like a cinder block, in the gate’s path and close the gate on it. The gate should reverse within two seconds of contact. If it does not, stop testing and call a professional. Do not adjust the sensitivity yourself. Photograph the test setup.
- Log the date, what you did, and what you found. A simple note in your phone or a printed sheet taped inside the garage door is fine. The log does not need to be professional. It needs to exist.
This monthly pass takes about twenty minutes. It prevents most of the Inglewood gate failures we see that are not motor-related. And it gives you a maintenance record that insurance carriers actually accept. For everything deeper than this, we recommend professional service, and our Vance Gate Repair Inglewood home page explains how our documentation standard works.
Inglewood-Specific Factors That Change the DIY Math
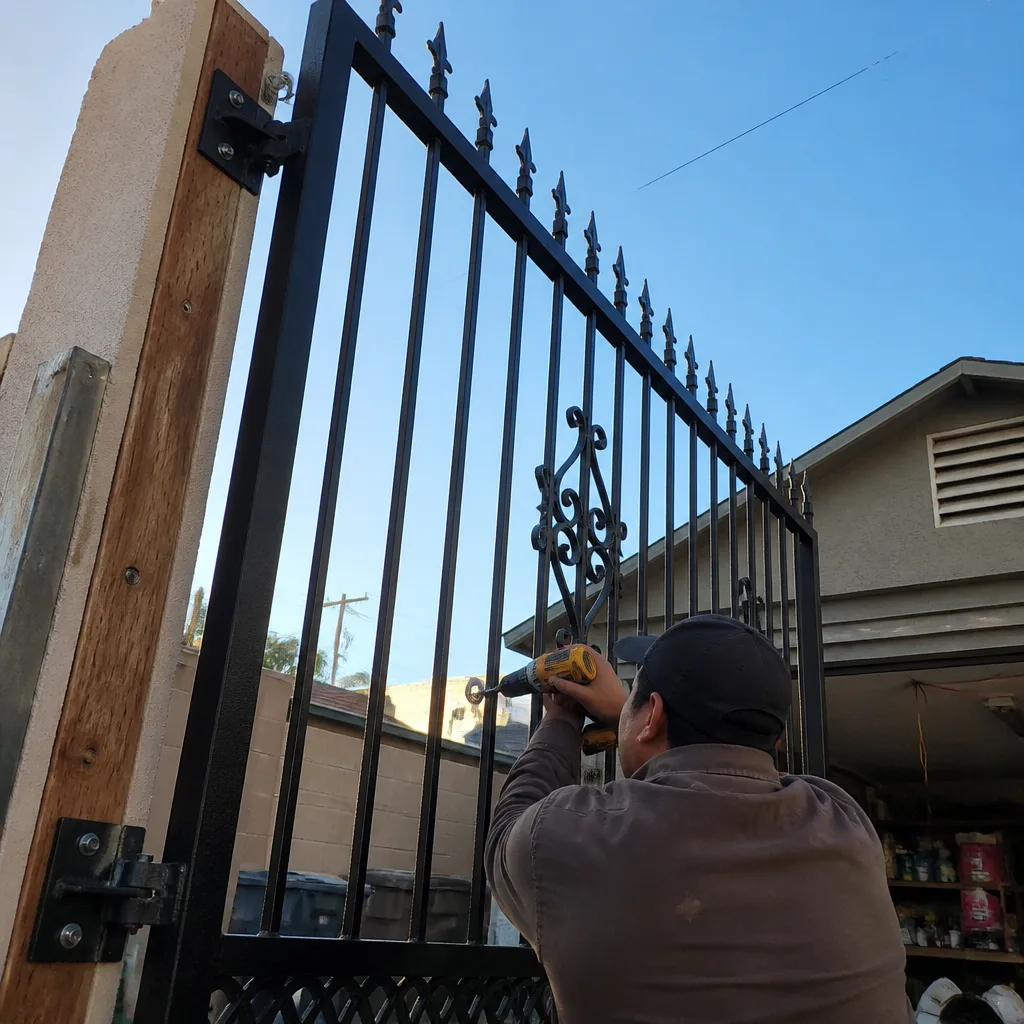
Inglewood gate systems live with conditions that differ from the coastal cities and the valleys. Three factors show up repeatedly in our repair logs here.
First, the soil. Inglewood sits on alluvial and clay-loam soils that shift noticeably between wet and dry seasons. Gate posts that were level in January can be a quarter inch out by August. That movement changes how the gate hangs on its hinges, which changes the load on the motor, which shortens motor life. A DIY repair that fixes the symptom, like a new motor, does nothing to address a post that moved. A professional repair should start with a level check on the post and the hinge alignment. That is the root-cause habit, and it is the difference between a motor that lasts ten years and one that burns out in two.
Second, the microclimate. Inglewood’s proximity to the coast means cooler, moister air than the valleys, but the dry season still pulls moisture out of gate wood and soils. Wood gates in Inglewood expand and contract. The hinges and the latch shift. A homeowner who tightens a bolt without checking whether the wood has swollen or shrunk can crack the frame. The professional move is to measure the frame before adjusting.
Third, the fence and gate code. Inglewood enforces Los Angeles County standards for front-yard gate setback, drive-gate operation, and pedestrian safety. The relevant points are usually about the gate’s swing direction (gates generally may not swing outward over a public sidewalk) and the required safety devices on automated gates. A DIY install that misses a required photo-eye or edge sensor creates a code violation that can surface during a permit inspection or a resale inspection. The most expensive DIY mistake we see in Inglewood is not a failed motor; it is a gate that was rehung the wrong way and needs the entire post reset.
Brand-by-Brand: Which Motors Are Forgiving and Which Are Not
The automation brand on the gate changes the DIY decision. Some platforms are straightforward to maintain. Others are not. We service nine major brands, and we work on whatever is already on the property rather than steering homeowners toward a replacement. But the decision tree for a homeowner should account for the motor in front of them.
- LiftMaster residential openers are the most common brand we see on Inglewood driveway gates. The LA400 and LA500 are generally reliable, but the control board revisions are not always cross-compatible. A DIY board swap without a revision check is a common source of failed repairs.
- Mighty Mule units are heavily marketed for DIY installation, which means many Inglewood homeowners start with one. The initial install is feasible, but the force and sensitivity settings drift over time, and the cheap plastic limit cams wear. A homeowner who adjusts force to compensate creates exactly the liability pattern described above.
- Elite and FAAC gates skew commercial or high-end residential. These are powerful and long-lived, but the documentation and wiring diagrams are not written for the weekend repair project. A miswire on an Elite board can destroy the board and the transformer in one shot. These are the brands where the cost of a DIY mistake is highest.
The practical rule: if the motor on your Inglewood property is a LiftMaster or Mighty Mule, your monthly maintenance pass is safe and productive. If the gate stops working, the professional diagnostic is cheaper than the likely part swap. If the motor is an Elite or a FAAC, skip DIY repairs entirely. Call us. The diagnostic cost is a fraction of what a wiring mistake will cost.
Common Mistakes to Avoid
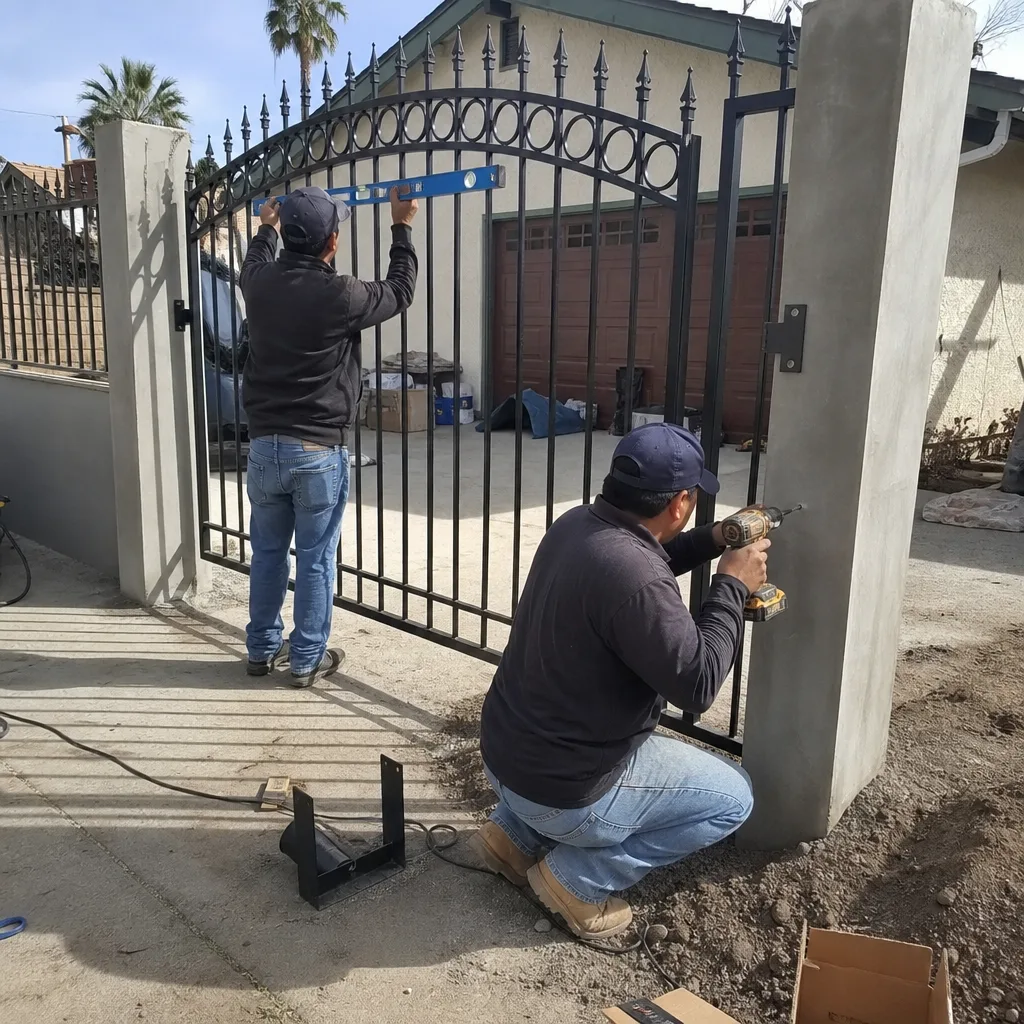
- Adjusting the reversing sensitivity to “fix” a gate that won’t stay closed. The gate that won’t stay closed is usually a photo-eye alignment issue or a physical obstruction. Adjusting the sensitivity masks the real problem and creates a safety hazard. We see this twice a month in Inglewood.
- Replacing a control board without verifying the revision number. LiftMaster in particular ships multiple revisions of the same board, and a mismatch can burn out the new part. Check the revision. If you don’t know how, don’t replace the board.
- Lubricating the drive chain with WD-40 or motor oil. Those products attract dust and gum the chain. Use a dry chain lubricant. The old habits die hard, but they wreck chains fast in Inglewood’s dust.
- Rehanging a sagging gate by re-tensioning the hinge bolts. The real issue is usually a post that moved. Tightening bolts against a moved post just locks the misalignment in place.
- Assuming the gate’s manual release works without testing it. Homeowners discover a stuck release mechanism during a power outage, when the gate is halfway open and the car cannot get through. Test the release every couple of months.
- Forgetting to document any DIY work you did. An undocumented adjustment is as bad as a bad adjustment when the insurance carrier asks for records. Write it down, photograph it, date it.
When to Call a Professional
Call a professional the moment the problem touches the motor, the control board, the wiring, the safety sensors, or the structural integrity of the post and hinges. If the gate reverses without reason, if it stops at the wrong position, if it makes a grinding noise, if the motor hums but the gate does not move, or if the gate is visibly sagging, the repair is beyond the safe do-it-yourself zone. Inglewood homeowners should also consider the documentation angle: a professional repair leaves a written record that protects you in a resale inspection and a liability claim. Vance Gate Repair’s installation team offers free estimates in Inglewood, with a written price before any work begins. Call (424) 380-7998 and a live person answers.
Frequently Asked Questions
In California, you can do routine maintenance on your own residential gate without a license: lubricating hinges and chains, cleaning photo-eye lenses, clearing the track, tightening visible bolts, and visually inspecting the gate for wear. Any work that touches the 120V or 240V supply, the motor’s internal wiring, the control board, or the safety sensor circuit crosses into licensed-contractor territory. The dividing line is not about skill; it is about liability and code enforcement.
Professional gate repair in Inglewood typically runs $150 to $350 for a diagnostic and minor adjustment, $400 to $750 for a control board replacement, and $600 to $1,200 for a motor replacement, depending on brand and gate size. The price is quoted and agreed in writing before any work starts. For an exact number, call (424) 380-7998 and we’ll walk through the specifics.
DIY gate repair does not automatically void a policy, but an undocumented modification to a safety-relevant system, like reversing sensitivity or force, gives the insurance carrier a legitimate basis to deny a negligence claim after an injury. The claim hinges on whether the gate met UL 325 standards at the time of the incident. A professional record of the repair is the evidence that protects you.
Our estimates are free. The written price is delivered before any work begins, so the number you approve is the number you pay. We also offer a free second opinion on any written estimate from another Inglewood gate company; bring the paperwork and we’ll review it at no cost.
Our repair work is typically scheduled within 24 to 48 hours, and emergency calls are handled by a live person at any hour. Call (424) 380-7998 and we’ll tell you exactly when a technician can be at your Inglewood property, not a callback window.
You receive a written record of what was found, what was adjusted or replaced, the part numbers, the settings, and a photo log of the work. That record stays with you and is filed in our system, so any future service call starts from the documented state of the gate, not from a guess.
The Bottom Line
The DIY-versus-professional decision for an Inglewood gate is not a question of whether you can turn a wrench. It is a question of what you are willing to document, and what you stand behind if the gate fails. The monthly maintenance pass is yours: clean the lenses, clear the track, lube the hinges, test the reverse, log it. That work protects your gate and your record. Everything deeper crosses into liability, documentation, and revision territory where a professional record is worth more than the labor cost. The gate is a machine, but it is also a legal exposure. Treat it like both. Call (424) 380-7998 for a free written estimate, and a live person answers.
Written by Adrian Vance, Owner at Vance Gate Repair Inglewood, serving Inglewood since 2014.