
Last updated September 20, 2026
Free on-site gate assessment - hinges, posts, and your LiftMaster or Nice gate operator checked before anything is quoted
The assessment is free and the quote is the invoice.
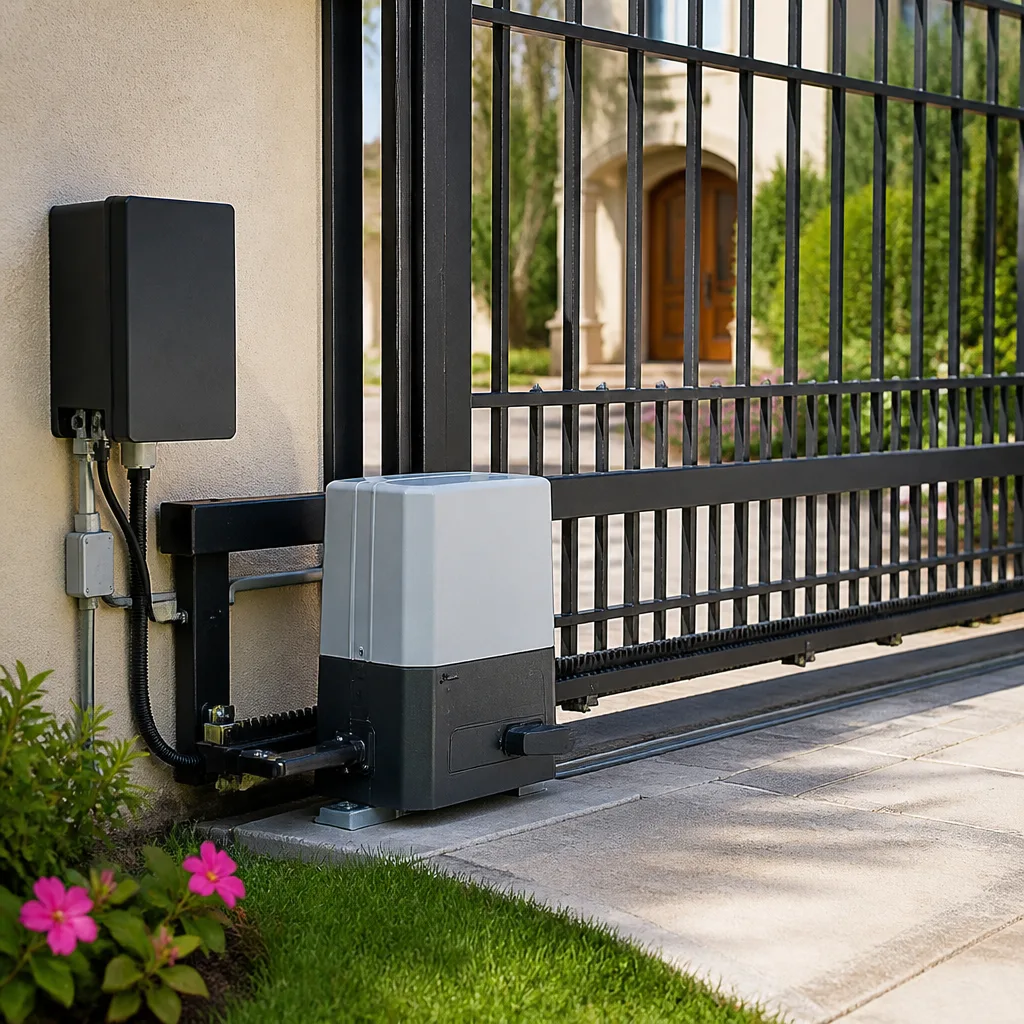
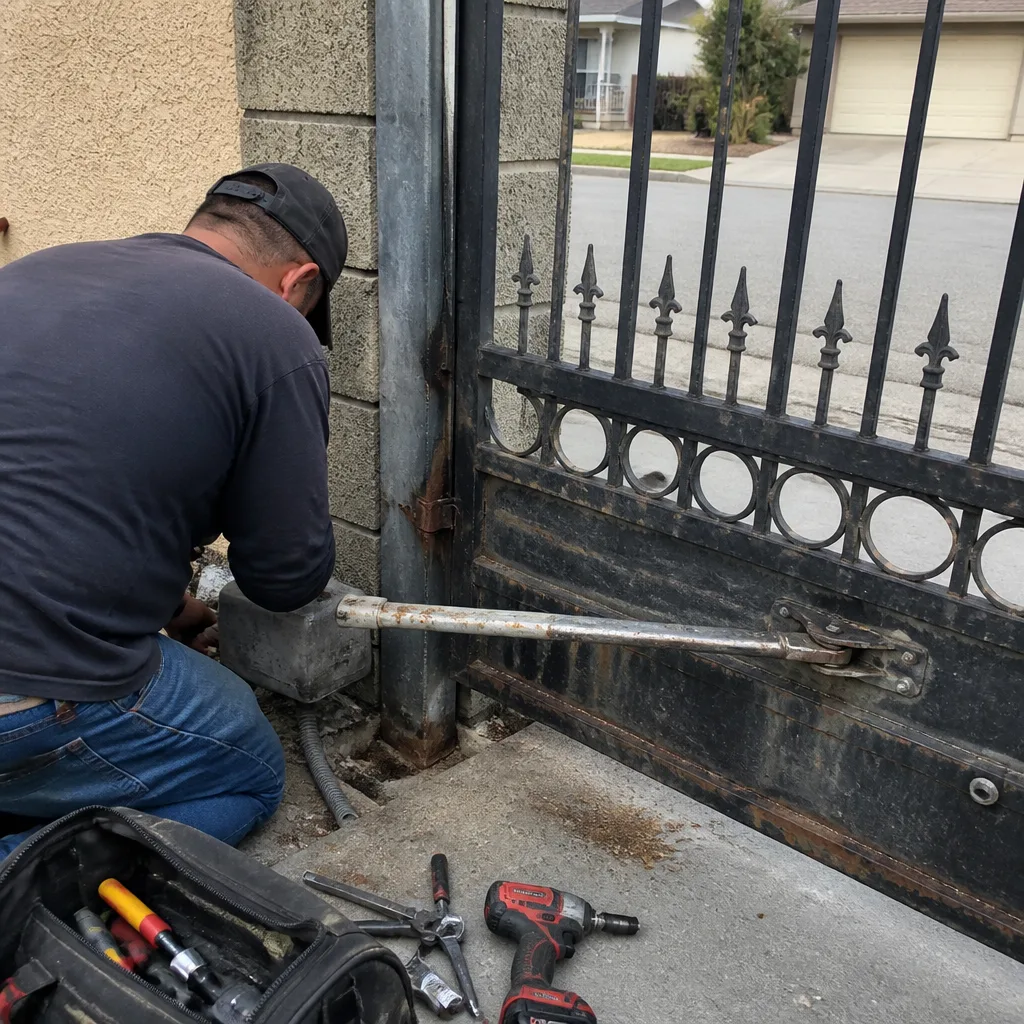 Before
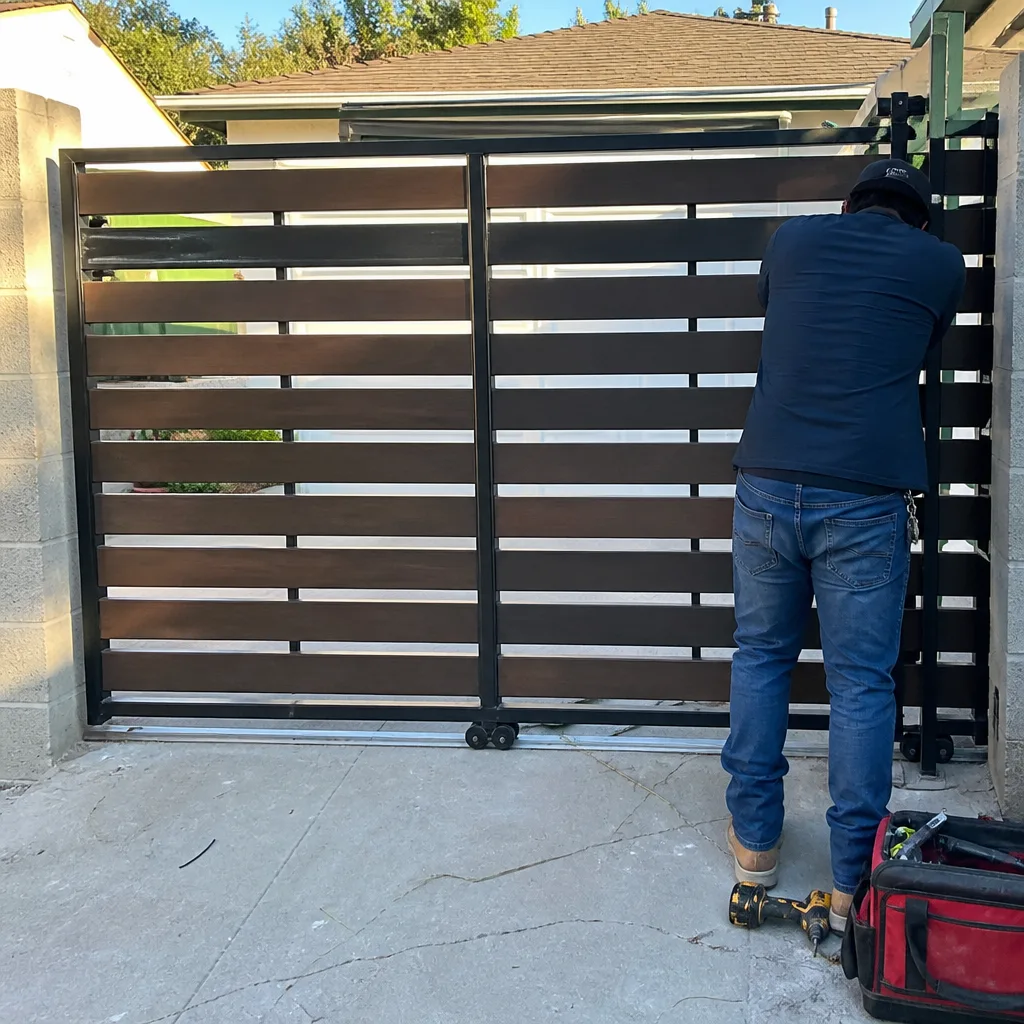 After
After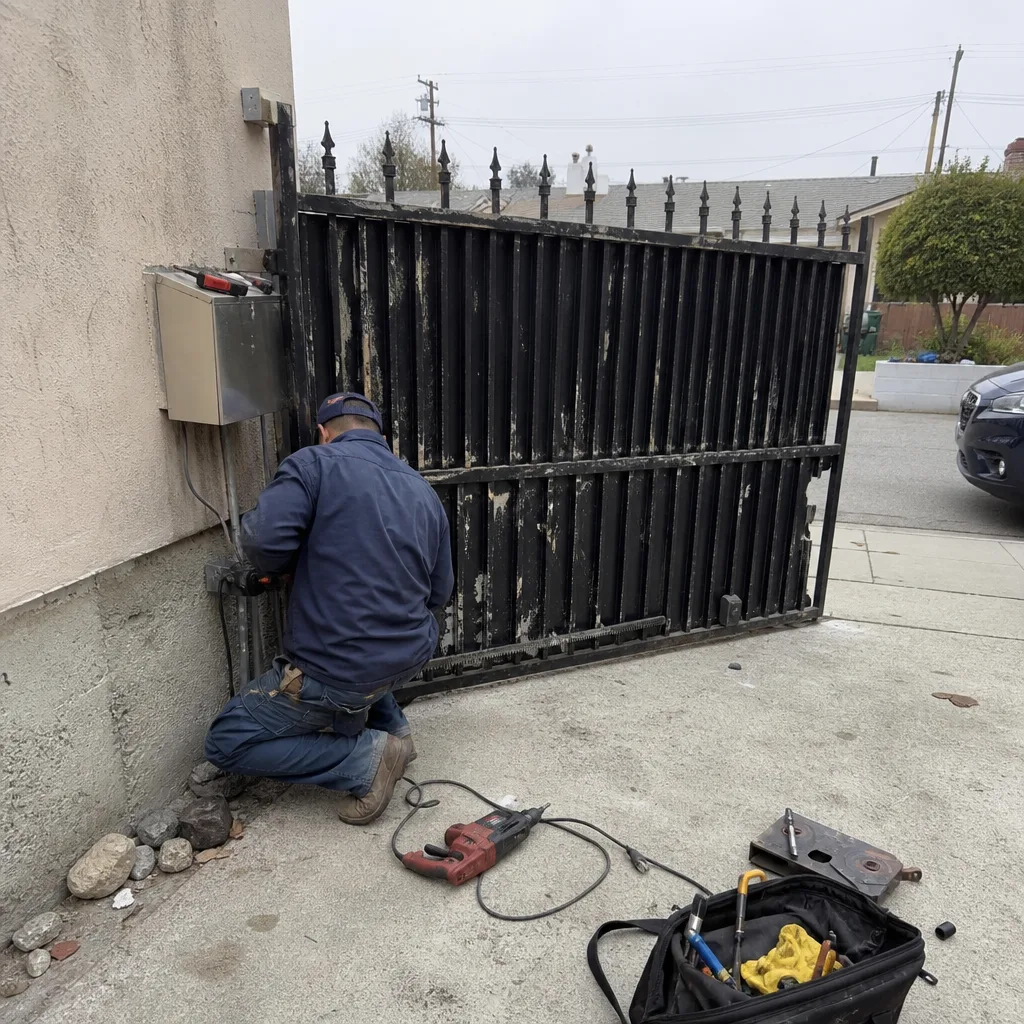 Before
 After
After Before
 After
AfterThe Complete Guide to Gate Repair in Inglewood
The most expensive gate repair call in Inglewood is usually the second one, because the first technician fixed the symptom and left no record of what caused it. A hinge pin replaced today fails again in fourteen months when the underlying post movement was never addressed. This guide maps the predictable failure sequence that Inglewood’s specific conditions create: coastal air, older housing stock, and gates that get cycled hundreds of times a week. By the time you finish reading, you’ll know what a complete Gate Repair service actually looks like, what it should cost, and what documentation you should walk away holding.
Quick Answer
Gate repair in Inglewood typically costs between $180 and $950 depending on whether the failure is mechanical (hinges, posts, wheels) or electrical (motor, control board, photo-eyes, limit switches), with most mechanical repairs landing under $400 and most motor or board replacements running $450 to $950. The single most important factor in keeping that cost from recurring is whether the technician documents what was found, what was adjusted, and what was installed, as detailed in our Gate Repair Cost Breakdown: The Inglewood Homeowner’s Reference for 2026. A written price before work starts and a photo record when the tech leaves separate a repair that lasts from one that comes back in six months.
Table of Contents
- The Inglewood Failure Sequence: Why Gates Fail Here in a Predictable Order
- Coastal Air and Oxidation: What Fails Before You See Rust
- Electrical vs. Mechanical Failure: The Misdiagnosis That Doubles Cost
- What a Complete Gate Repair Leaves Behind
- Inglewood Post-Tension Slabs and Gate Post Anchoring
- How to Read a Written Scope of Work
- What Gate Repair Costs in Inglewood: A Line-Item Breakdown
- Repair vs. Replacement: When Each Makes Sense
BeforeAfterThe Inglewood Failure Sequence: Why Gates Fail Here in a Predictable Order
We’ve repaired over 22,000 gates since 2014, and the ones in Inglewood fail in a pattern that’s specific enough to describe on paper before anyone touches a tool. The sequence usually runs like this: first the gate gets harder to move, then it makes noise, then it stops responding to the opener, then the opener burns out trying to move a gate that’s fighting it. The part that breaks first is almost never the motor. The motor is the last thing to fail, which means a technician who replaces the motor without asking why it failed is booking their own return visit.
Here’s the sequence as we see it on residential driveways throughout Inglewood, from Century Heights to Morningside Park:
- Wear at hinge pins and pivot points. Inglewood’s coastal proximity puts salt-laden moisture in the air year-round. Hinge pins and pivot bushings are typically uncoated steel or low-grade stainless. They oxidize, the clearance tightens, and the gate begins to drag. The homeowner notices it takes slightly more effort to move the gate manually, or hears a creak that wasn’t there before.
- Motor strain begins. The opener now has to work harder against increased friction. Amp draw at the motor climbs. On swing gates, the arm bracket flexes under the load. On slide gates, the drive chain or rack starts showing accelerated tooth wear.
- Limit switches drift out of calibration. The extra resistance changes how the gate decelerates at end-of-travel. The limit switch, which tells the motor where to stop, gets hit harder than it was designed for. It drifts. Now the gate slams at the end of travel or stops short of full close.
- The motor or control board fails. This is the expensive stage. The opener has been running at elevated amp draw for months. The board’s relays or the motor’s windings finally give out. A technician arrives, sees a dead motor, quotes a motor replacement, and leaves with the underlying hinge and limit-switch problems still in place.
- The second failure. The new motor inherits the old gate’s mechanical problems and fails again, often just outside the warranty window. This is the second call. This is the one that could have been prevented on the first visit if the first technician had documented the full picture.
That’s the sequence. Recognizing where you are in it changes everything about how you approach a repair quote. If the gate is getting harder to move and making noise, you’re at stage one or two, and the repair is probably a few hundred dollars. If the motor is dead, you’re at stage four, and the real work is fixing stages one through three so the new motor doesn’t inherit the old problems. A gate repair in Inglewood that only addresses the dead motor is an incomplete repair, plain and simple.
Coastal Air and Oxidation: What Fails Before You See Rust
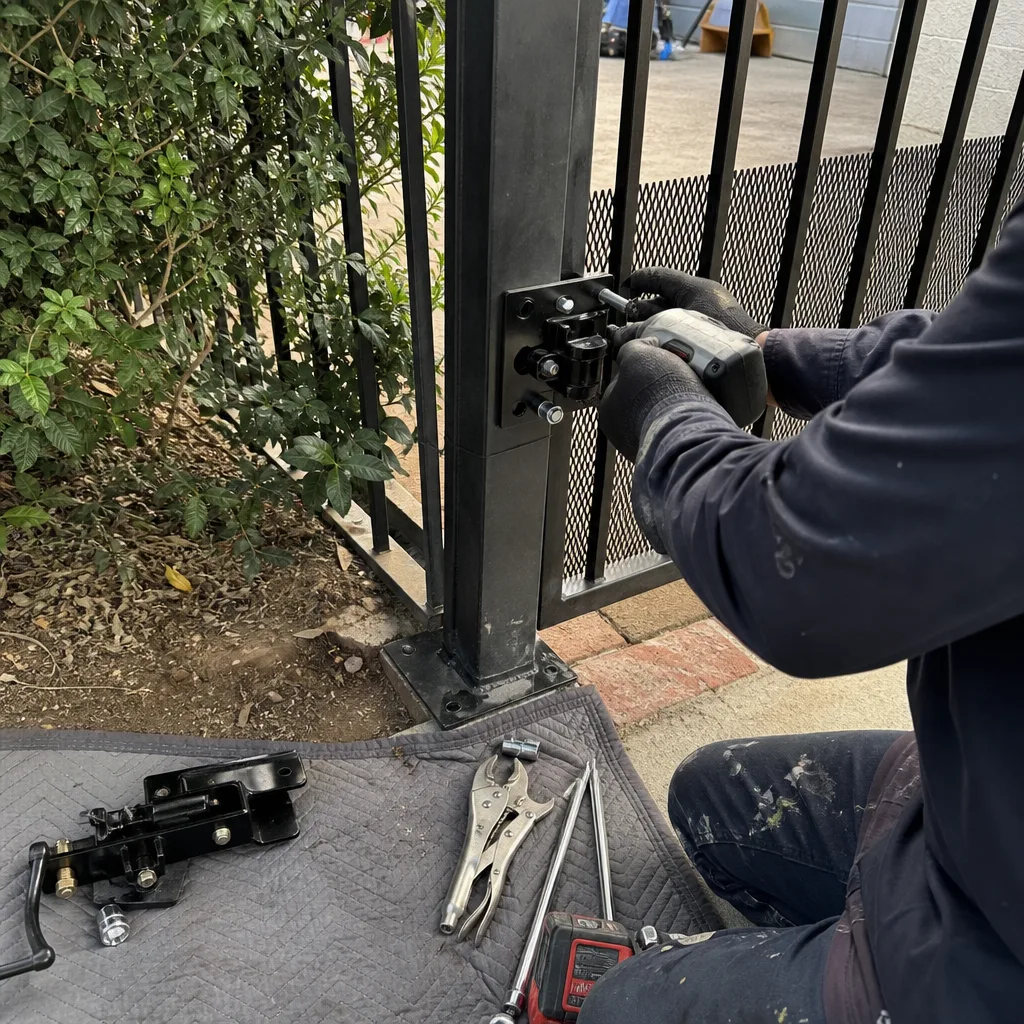
Inglewood sits less than five miles from the Pacific in most places, and the marine layer that rolls in most evenings carries chloride particles that settle on exposed metal. The failure mode here isn’t dramatic rust-through; it’s oxidation at contact points and terminals that degrades performance long before anything looks corroded to the naked eye. The components that fail first are the ones with electrical contact or tight mechanical tolerances.
Here’s where coastal oxidation hits hardest on Inglewood gates, in the order we typically encounter it:
- Control board terminals. The low-voltage screw terminals where photo-eye wires, keypad wiring, and battery backup leads connect develop a thin oxide film. Resistance climbs, voltage drops, and the gate starts behaving erratically: opening when it should close, stopping mid-cycle, ignoring remote signals. The board gets blamed and replaced when the actual fix is cleaning and reseating the terminals.
- Hinge pins and bushings. Most residential gate hinges in Inglewood are powder-coated steel with uncoated pins. The powder coat protects the visible surface, so nothing looks wrong. The pin inside the bushing is where oxidation accumulates, increasing friction incrementally. This is why a gate that worked fine in September feels stubborn in March.
- Motor mount brackets. Galvanized brackets hold up well, but the bolts that hold them to the post or the gate frame are often plain zinc-plated steel. When they oxidize, the bracket shifts slightly, the arm angle changes, and the motor starts binding. The symptom looks like a motor problem. The cause is two dollars’ worth of bolts.
- Photo-eye housings. The infrared beam sensors located near the bottom of the gate track or at the swing gate’s opening are exposed to splash-back during rain and morning dew. The housings crack or the internal lenses fog with salt residue. Misalignment follows. The gate refuses to close, or reverses immediately after closing, because the photo-eye thinks something is in the path.
None of these failures announce themselves loudly. There’s no dramatic rust hole, no snapped hinge. The gate just slowly stops behaving the way it used to. A technician who works gates in Inglewood every day recognizes the pattern immediately. A technician from outside the area, or one who works mostly inland, might spend two hours chasing an electrical ghost that’s actually a corroded terminal block three inches from the board. This is one of the quiet advantages of working with a company that knows the local failure profile. It’s not that the gates are different; it’s that the air is.
Electrical vs. Mechanical Failure: The Misdiagnosis That Doubles Cost
Every gate problem falls into one of two categories: electrical or mechanical. Mechanical failures are things you can see and touch: worn hinge pins, sagging gates, bent brackets, broken wheels, dragging chains. Electrical failures live in the control system: dead circuit boards, failed motors, blown capacitors, drifted limit switches, shorted photo-eye wiring. The single most expensive mistake in gate repair is treating one category as the other. A mechanical problem misdiagnosed as an electrical one leads to a motor replacement that doesn’t fix anything. An electrical problem misdiagnosed as a mechanical one leads to hinge work and lube that don’t address the real cause.
Here’s how to tell the difference before you call anyone, based on what we see across Inglewood’s residential gates:
Signs of Mechanical Failure
- The gate moves but requires visible effort, or makes grinding, scraping, or squealing sounds while moving.
- The gate is visibly sagging: the free end of a swing gate sits lower than the hinge end, or a slide gate drags on its track at one end.
- The gate stops moving at a particular point in its travel, as if hitting an obstacle, but inspection shows nothing in the path.
- Manual operation is difficult or impossible even when the opener is disengaged.
- The motor runs but the gate doesn’t move.
Signs of Electrical Failure
- The gate doesn’t respond to the remote, keypad, or push-button at all; no motor sound, no click, nothing.
- The gate opens but won’t close, or closes but immediately reverses. On automated gates this usually means a photo-eye issue, a limit-switch failure, or a board fault.
- The gate opens or closes on its own without any command.
- The remote works intermittently or only at very close range.
- There’s a humming sound from the motor but no movement. This is usually a failed capacitor or a bound armature.
The overlap zone is where misdiagnosis happens. A gate that’s dragging because of a worn hinge pin will eventually blow the motor’s capacitor, producing an electrical symptom with a mechanical root cause. A technician who swaps the capacitor and calls it done has not fixed the gate. A technician who replaces the hinges and doesn’t check the capacitor has also not fixed the gate. This is why a complete repair always includes both a mechanical inspection and an electrical diagnostic. At Vance Gate Repair Inglewood home, we run both on every repair visit, because the failure we’re looking for is often hiding one layer behind the symptom that got us called out.
What a Complete Gate Repair Leaves Behind
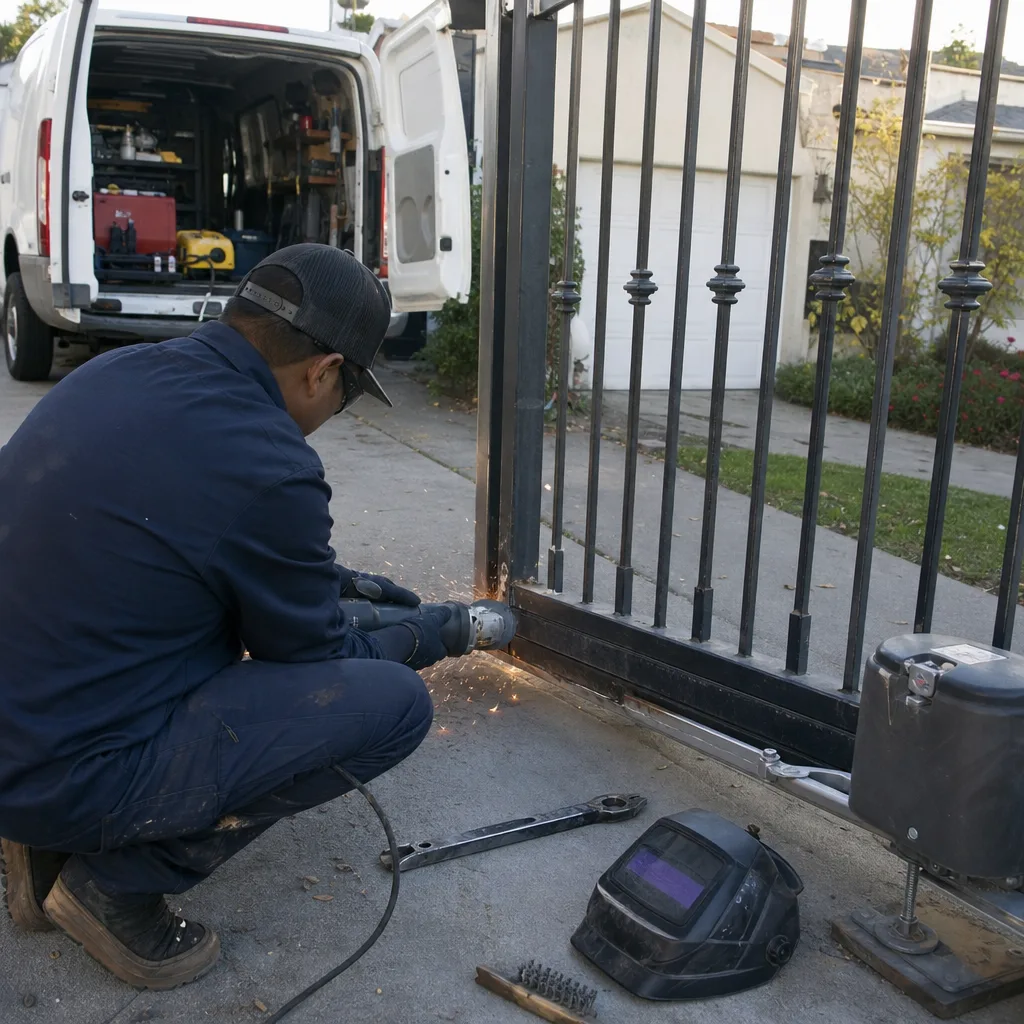
Here’s the thing about gate repair that most homeowners don’t learn until they’ve paid for the same job twice: the knowledge of what was wrong, and what was done about it, usually lives in the technician’s head and disappears when the truck pulls away. Three years later, when a different problem appears on the same gate, the next technician starts from zero. They don’t know the wire colors were changed. They don’t know the limit switch was replaced with a different model. They don’t know the hinge pin was cut down to fit a non-standard post. They guess, and the homeowner pays for the guessing.
That’s the problem The Haven Standard was built to solve. Under Clause 4, every visit includes a documented photo record at no additional charge. Before we leave, you get a photo log of every adjustment and a written record of the part number installed. What does that actually look like in practice? Here’s what you should receive after any complete gate repair in Inglewood:
- Written diagnosis. A plain-language description of what was found, not in trade jargon: “The left hinge pin was worn 0.030 inches beyond spec, allowing the gate to sag 3/4 inch at the latch end.” You should be able to hand this to any future technician and have them understand the problem instantly.
- Photo documentation. Photos of the worn parts before removal, photos of the new parts in place, photos of the final gate alignment. If a limit switch was adjusted, there’s a photo of the new position. If a control board was replaced, there’s a photo of the new board installed and wired.
- Limit-switch readings. The exact travel limits in degrees or inches, written down. This is the single most useful piece of data for diagnosing future problems, because a limit switch that has drifted from its documented setting tells you something changed mechanically before you even look at the gate.
- Wiring notes, if applicable. If any wire was moved, spliced, or replaced, the documentation reflects it. On older Inglewood homes where previous handymen have left creative wiring behind, this is the difference between a one-hour diagnostic and a four-hour archaeology project on the next visit.
- Written price, delivered before work started. This is not a note on the invoice after the fact. It’s the price you saw and approved before the first tool came off the truck. And it’s the price you paid at the end, because the written price is the price.
We started documenting gates this way because Adrian Vance, our owner, did commercial access-control work starting in 2014, and commercial clients don’t accept undocumented changes. The habit carried over to residential work because it makes the next call faster and cheaper. A documented gate is a gate that doesn’t need to be re-diagnosed from scratch every time something new happens.
Inglewood Post-Tension Slabs and Gate Post Anchoring
Inglewood’s housing stock includes a significant number of homes built during the post-war boom of the 1950s and 1960s, many of them on post-tension slab foundations. Post-tension slabs are reinforced with steel cables under tension, which makes them strong and resistant to cracking, but it also means you cannot safely cut or drill into them without knowing where the tendons run. That’s a problem when a gate post needs to be re-anchored or a new post installed, because the obvious solution, drilling into the slab, can be anything from harmless to structurally disastrous depending on location.
What this means for gate repair in Inglewood specifically:
- Loose gate posts on post-tension slabs require different anchoring methods. On a conventional slab, a loose post is often fixed by drilling deeper and setting larger anchors. On a post-tension slab, you may need surface-mounted brackets, offset anchor points, or an engineered base plate, depending on where the tendons run. The wrong approach doesn’t just fail; it can damage the slab itself.
- Brick and stucco gate columns from the 1950s and 1960s have their own failure profile. Many of these columns were built around steel posts that have now been rusting internally for 60 years. The column looks fine from the outside. The post inside is severely compromised. A gate that suddenly starts sagging on an older Inglewood home often has a post that’s rusted through inside the brickwork, and the repair means opening the column, not just adjusting hinges.
- Wrought iron and steel gates on these older homes are often custom-built, not standard sizes. Repair parts don’t come off a shelf. Hinges are sometimes welded in place. The interaction between a 60-year-old custom gate and a 60-year-old post inside a brick column is a repair problem that rewards experience, because every job is slightly different.
None of this is meant to scare you. It’s meant to explain why a loose post on an Inglewood gate is not automatically a simple job, and why the right question to ask your gate technician is not “can you fix this” but “how will you anchor this on my slab.” A technician who looks confused by the question is a technician who hasn’t worked on many post-tension homes. A technician who starts asking whether your slab is post-tension, and whether the column has an internal steel post, is a technician who’s done this before.
How to Read a Written Scope of Work
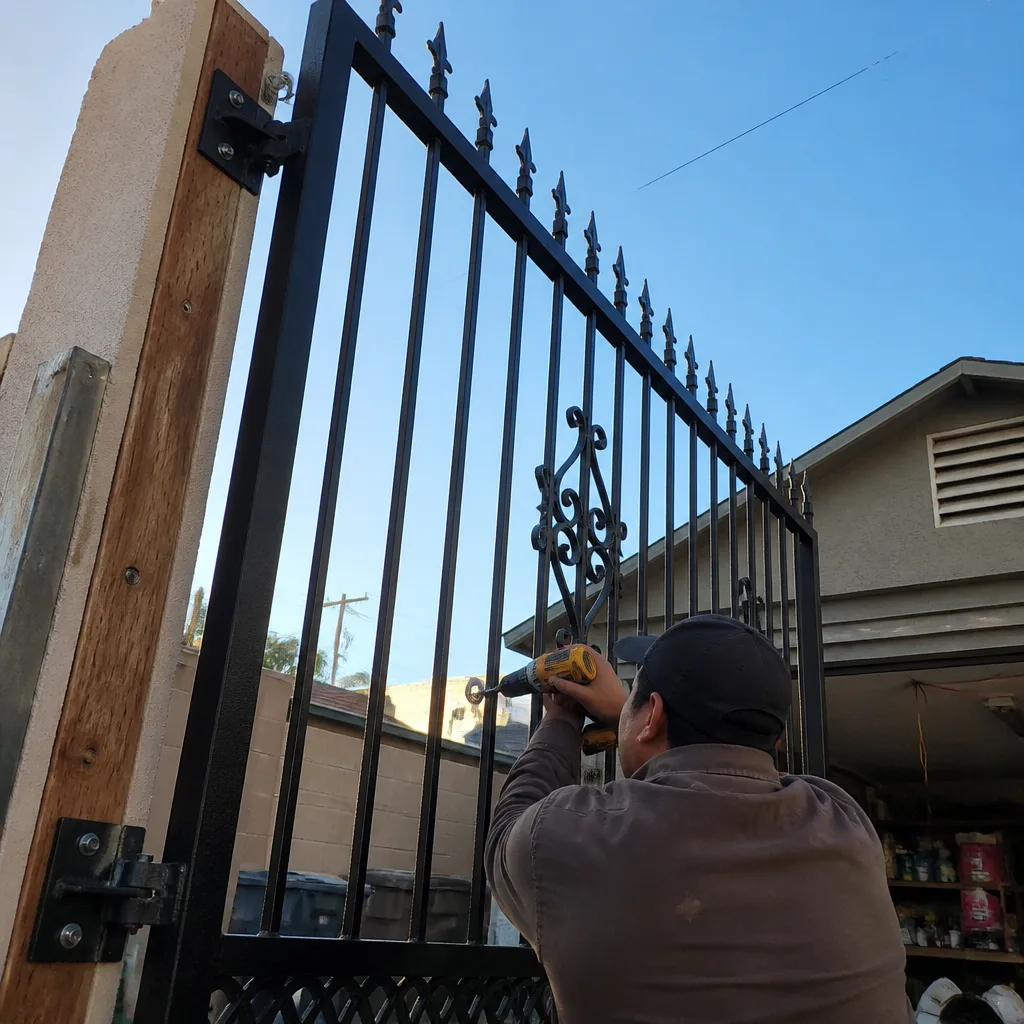
If a gate company hands you a written scope of work, that’s already a good sign. Most don’t. But a written scope is only as good as what it actually describes. Some scopes are detailed and complete; some are a single line that says “repair gate.” Here’s how to tell the difference, and how to read the document so you know whether the contractor is quoting the full problem or just the visible part.
The scope should answer four questions. If it doesn’t, ask for more detail before you approve anything.
- What exactly is wrong? The scope should name the failed component and describe the failure mode. “Hinge pin worn excessive, causing gate sag” is a diagnosis. “Gate not working” is not. A contractor who can’t describe the failure in writing probably hasn’t actually identified it.
- What exactly will be done? The scope should list the specific work: “Replace two hinge pins with new 1-inch stainless, shim gate to level, adjust limit switch on LiftMaster LA400 to compensate.” Specific part numbers or at least component descriptions are a good sign. “Fix gate” is not a scope; it’s a hope.
- What parts are being used? The scope should identify the brand and, where relevant, the model of any replacement components. If your FAAC actuator is being replaced, the scope should say so, and say with what. This matters because not all replacement parts are equal, and because the next technician will need to know what was installed.
- What does it cost? The price should be written on the scope, in dollars, before any work starts. If the price is verbal, or if the scope says “price to be determined,” you don’t have a written price. You have a conversation. The entire point of a written scope under Haven Standard Clause 1 is that the price is written and handed over before any work starts. If it’s not written, it doesn’t count.
We’ve reviewed plenty of scopes from other companies as part of our free second opinion offer. The most common gap isn’t a missing line item; it’s a missing cause. A scope that says “replace control board” without mentioning that the board failed because the photo-eye wiring was shorting is a scope that guarantees a second visit. The board will blow again. The short is still there. This is what separates a repair that’s quoted from a repair that’s diagnosed. A complete written scope describes the cause, the repair, the parts, and the price. If your scope doesn’t, call the company and ask for the missing pieces before you sign anything.
What Gate Repair Costs in Inglewood: A Line-Item Breakdown
Gate repair pricing in Inglewood falls into predictable ranges once you know what’s actually being fixed. The numbers below reflect what we see across hundreds of residential jobs in the area each year, with the caveat that every gate is a little different and the written scope you receive before work starts is the only number that matters. Here’s a realistic look at what common repairs cost in this market, and why the ranges exist.
| Repair Type | Typical Range | What Drives the Price |
|---|---|---|
| Hinge pin replacement (swing gate) | $180 – $350 | Number of hinges, whether posts need shimming, whether hinge welding is required |
| Photo-eye replacement or realignment | $150 – $280 | Single or dual photo-eye setup, wiring condition, whether the housing needs replacement |
| Limit switch adjustment or replacement | $140 – $260 | Accessibility, switch type, whether the control board needs reprogramming after replacement |
| Control board replacement | $380 – $750 | Board brand (LiftMaster, FAAC, and BFT boards vary in price), whether relays are integrated, programming time |
| Swing gate motor replacement | $450 – $950 | Motor brand and model, whether the arm bracket is intact, whether the existing mounting works with the new motor |
| Slide gate wheel or track repair | $250 – $600 | Number of wheels, track condition, whether the gate needs lifting to access the running gear |
| Post re-anchoring (single post) | $350 – $800 | Post-tension vs. conventional slab, column construction, whether brick or stucco work is needed |
| Full diagnostic visit | $75 – $125 | Often credited toward repair if you proceed; we always write the diagnosis down and hand it to you |
These ranges reflect Inglewood’s specific repair profile. The coastal oxidation factor means more terminal cleaning and more photo-eye work than inland markets see. The older housing stock means more post and hinge work, and more custom fabrication when original parts are no longer manufactured. The repair that gets quoted on a ten-year-old gate in a 1960s Inglewood neighborhood is often more involved than the identical-sounding repair on a five-year-old gate in a newer development, and the price should reflect that. What it should never do is surprise you. A gate motor and opener repair in Inglewood should always be priced in writing before the first tool comes out, and the price you see should be the price you pay.
Repair vs. Replacement: When Each Makes Sense
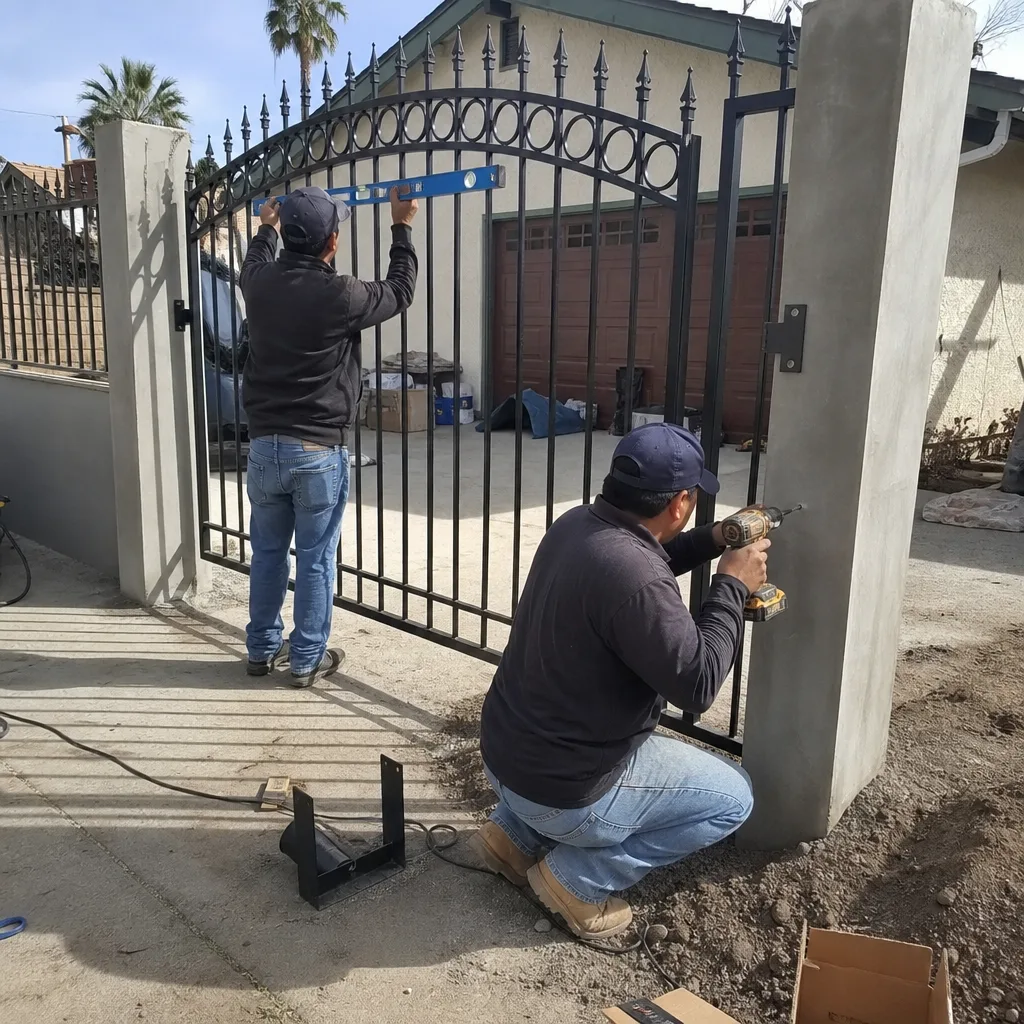
The question of whether to repair a gate yourself or hire a professional comes up on most service calls, and the honest answer is usually repair. A well-built steel or iron gate from the 1960s, properly maintained, will outlast most new gates you can buy today. The steel was thicker, the welds were heavier, and the designs were simpler. When an older Inglewood gate is sagging or binding, the cause is almost always a repairable component: worn hinges, a corroded pin, a drifted limit switch, a tired motor. New paint, new hinges, and a new opener can return a 60-year-old gate to smooth operation for far less than the cost of replacement.
But there are cases where replacement is the better call:
- Structural failure of the gate itself. If the gate frame is rusted through in multiple places, or if a previous repair involved patching that has now failed, welding repair can become a losing game. At some point the gate is more weld than original steel.
- Post failure inside a brick column. If the internal steel post in a 1960s brick column has rusted through, the column itself often needs to be partially or fully rebuilt. That’s a replacement-scale project, though it’s the column that’s being replaced, not necessarily the gate.
- When the motor, board, and mounting hardware all need replacement at once. If the cost of replacing every electrical component approaches the cost of a new automated system with new photo-eyes, new receiver, and a fresh warranty, replacement starts making financial sense.
- When the gate was never right for the installation. Some gates were undersized for their opening from day one, or installed with hinges that could never support the gate’s weight. In these cases, ongoing repairs are treating a design flaw, and a proper gate installation in Inglewood solves the problem permanently.
The gray area is wide, and that’s where a free second opinion matters. If a contractor is pushing replacement on a gate that could be repaired for a few hundred dollars, the written estimate will tell the story when you take it to someone else for review. Conversely, if you’ve been repairing the same gate every year for four years, a qualified technician should be honest with you about when repair stops making sense. The key is a written price for both options, presented side by side, so you’re choosing with full information rather than being steered by whatever the contractor prefers to sell. We’ve always believed the gate itself usually wants to stay. The hardware around it is what wears out.
Common Mistakes to Avoid
- Accepting a motor replacement without a diagnosis of why the old motor failed. Motors almost never fail on their own. They fail because a hinge was worn, a capacitor was stressed, or a board was overdriving them. Replace the motor without fixing the cause and you’re buying another motor in eighteen months.
- Ignoring a gate that’s making noise. Noise is the earliest warning sign of mechanical wear. The creak or scrape you’re hearing today is friction, and friction is a tax on every other component in the system. A $200 hinge repair now beats a $700 motor replacement later, and in Inglewood’s coastal air, the progression from creak to failure happens faster than you think.
- Drilling into a post-tension slab without checking tendon locations. This is the one mistake on this list that can cost ten times more than any gate repair. If your Inglewood home is on a post-tension slab and a gate post needs re-anchoring, the question of tendon location has to be answered before any drilling happens. Ask the contractor how they’ll handle it. If they don’t have an answer, find someone who does.
- Treating photo-eye problems as quirks rather than safety issues. A photo-eye that’s misaligned or dirty is not just an inconvenience; it’s a safety requirement on an automated gate. The beam exists to stop the gate if something, including a person, is in the path. A gate that reverses for no reason is working correctly; a photo-eye that’s been disconnected or bypassed is a liability.
- Paying for a repair without getting documentation. If the technician can’t tell you what part number was installed and doesn’t leave you with a written record, the next technician starts from zero. Documentation isn’t paperwork for the sake of paperwork; it’s the map that makes the next service call faster and cheaper.
- Choosing a contractor based on price alone. The lowest bid on a gate repair is often the lowest because it covers the least. A scope that says “replace hinge pins” is cheaper than a scope that says “replace hinge pins, level gate, adjust limits, photo-document everything.” The second scope is what the job actually costs to do correctly. The first is what it costs to do part of it.
- Waiting until the gate stops working to call. By the time a gate stops moving entirely, the repair is almost always more expensive than it would have been a month earlier. The earlier you address the problem, the fewer components have been damaged by the underlying issue. If the gate is getting harder to move, louder, or less responsive, that’s the time to call.
When to Call a Professional
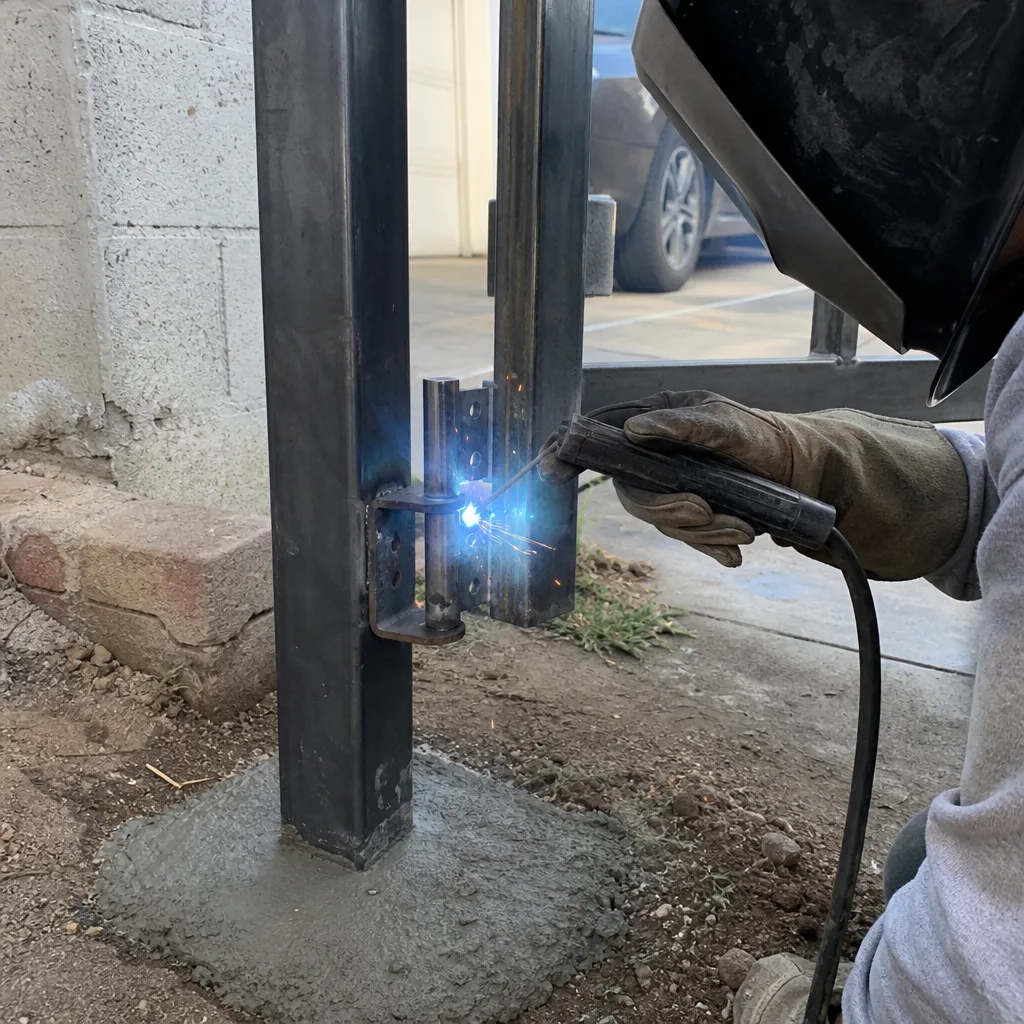
Any symptom that’s getting worse is worth a call. A gate that’s harder to move, noisier, slower to respond, or behaving erratically is telling you something is failing, and the longer it runs in that condition, the more damage accumulates. Specific scenarios that justify a professional visit include: the gate sagging visibly at the free end, the motor humming without moving the gate, the gate reversing unexpectedly during closing, any burning smell from the motor or control box, visible cracks at the post base, or any situation where the gate is inflicting damage on itself by slamming or dragging. On automated gates, the high-tension springs and heavy moving components create real risk, and the control systems involve line voltage. The work should be done by a qualified technician with the right equipment. Vance Gate Repair Inglewood offers free estimates in Inglewood. Call (424) 380-7998 and a live person answers, day or night.
Frequently Asked Questions
Gate repair in Inglewood typically costs between $180 and $950, with most mechanical repairs like hinge pins and photo-eye work landing between $150 and $400, and electrical repairs like control boards and motors running $380 to $950. The exact price depends on what failed and why, which is why you should receive a written price before any work starts. Call (424) 380-7998 and we’ll give you an exact diagnostic and a written price before we touch anything.
Most mechanical repairs and many electrical repairs can be completed the same day, depending on parts availability and the scope of the failure. Common repairs like hinge pin replacement, photo-eye realignment, and limit switch adjustment are usually same-day jobs. At (424) 380-7998, a live person will tell you exactly what to expect based on what your gate is doing.
Inglewood’s coastal air accelerates oxidation on hinge pins, motor mounts, and control board terminals, which creates grinding and electrical resistance well before visible rust appears. The most common failure sequence is worn hinge pins causing motor strain, which causes limit-switch drift, which eventually burns out the motor or control board. The solution is a repair that addresses the whole sequence, not just the final symptom.
We service gates with LiftMaster, FAAC, BFT, Linear, Viking, Ghost Controls, DoorKing, Elite, and Mighty Mule openers, which covers nearly every automated gate on an Inglewood driveway. The opener brand matters less than the condition of the gate it’s moving, which is why we diagnose the whole system rather than steering you toward a brand change. Call (424) 380-7998 with your opener’s brand and model; we’ll tell you what’s likely wrong before we even arrive.
A complete gate repair includes a written diagnosis, a written price before work starts, the repair itself using appropriate parts, limit-switch calibration, and a documented photo record of what was found and what was changed, left with you and filed in our job record. Under Haven Standard Clause 4, every visit includes this documentation at no additional charge. That’s the difference between a repair and a repeat repair.
A properly executed gate repair should last five to ten years for hinge work on a well-built gate, and three to seven years for electrical components depending on usage and Inglewood’s coastal environment. Every repair we complete is covered by the 365-Day Done Right Promise: if it’s not right, we make it right, no argument and no fee. Call (424) 380-7998 for an exact assessment of your gate’s condition and a realistic timeline for how long any repair will hold.
The Bottom Line
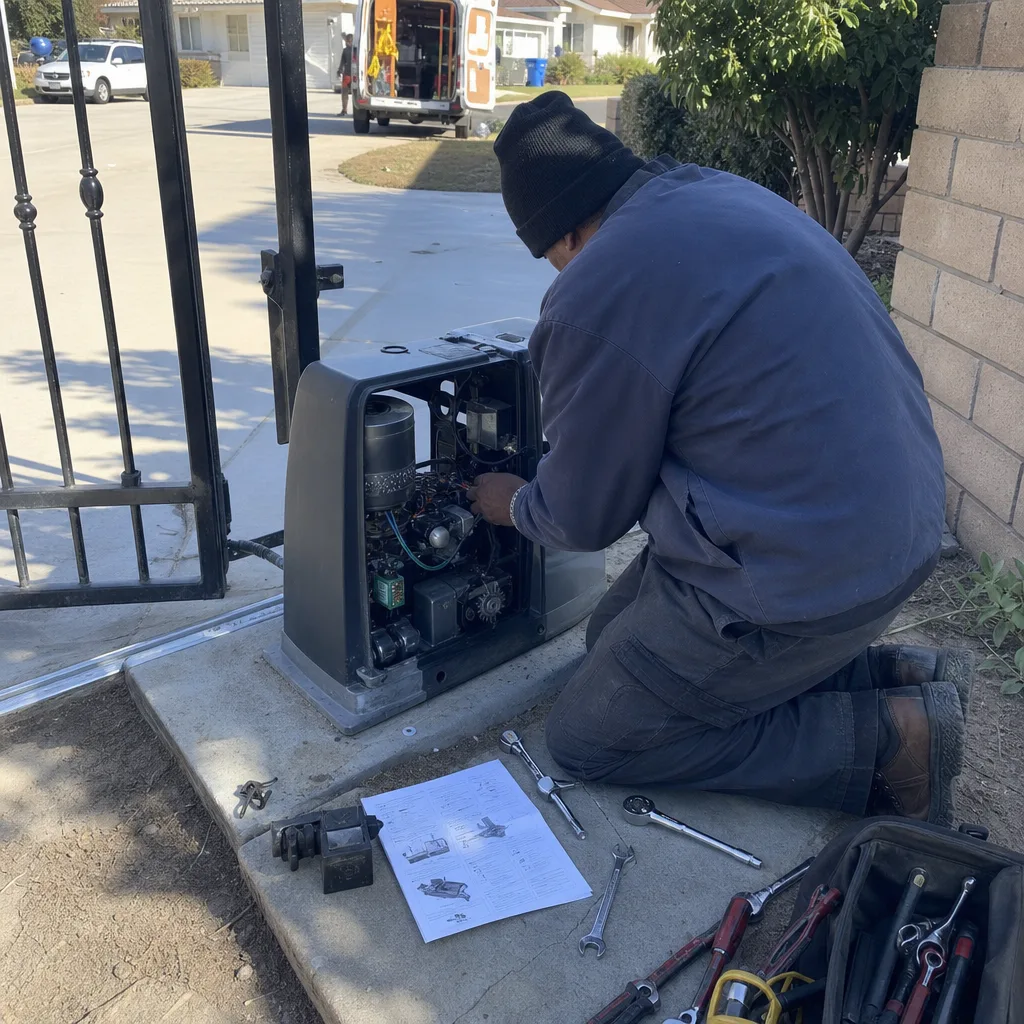
Gate repair in Inglewood is a local discipline, shaped by coastal air, older post-tension slabs, and the particular failure sequence that plays out across thousands of driveways here. The gate that fails today has usually been failing quietly for months, and the repair that lasts is the one that treats the cause, not just the symptom. A written price before work starts, a written diagnosis while the work is being done, and a photo record when the work is finished are not extras. For more guides & resources, explore our blog. They’re the minimum standard for a repair that doesn’t come back. If you’re in Inglewood and your gate is telling you something’s wrong, call (424) 380-7998. A live person answers, and the estimate is free.
Written by Adrian Vance, Owner at Vance Gate Repair Inglewood, serving Inglewood since 2014.